
October manicures can quickly become overcrowded when too many seasonal colors, patterns, and tiny accents compete on the same hand. In my experience, the most polished October nails start with one clear feature and let everything else support it. When each detail has a purpose, even a playful seasonal manicure can look refined and easy to wear.
Before I choose a design, I decide what should catch the eye first: the color, nail shape, finish, outline, or a small motif. I have found that shorter nails usually look strongest with one confident color or simple pattern, while longer shapes can handle more delicate artwork. Leaving some breathing room is often the detail that makes the entire manicure look intentional.
Black and White With Silver Punctuation
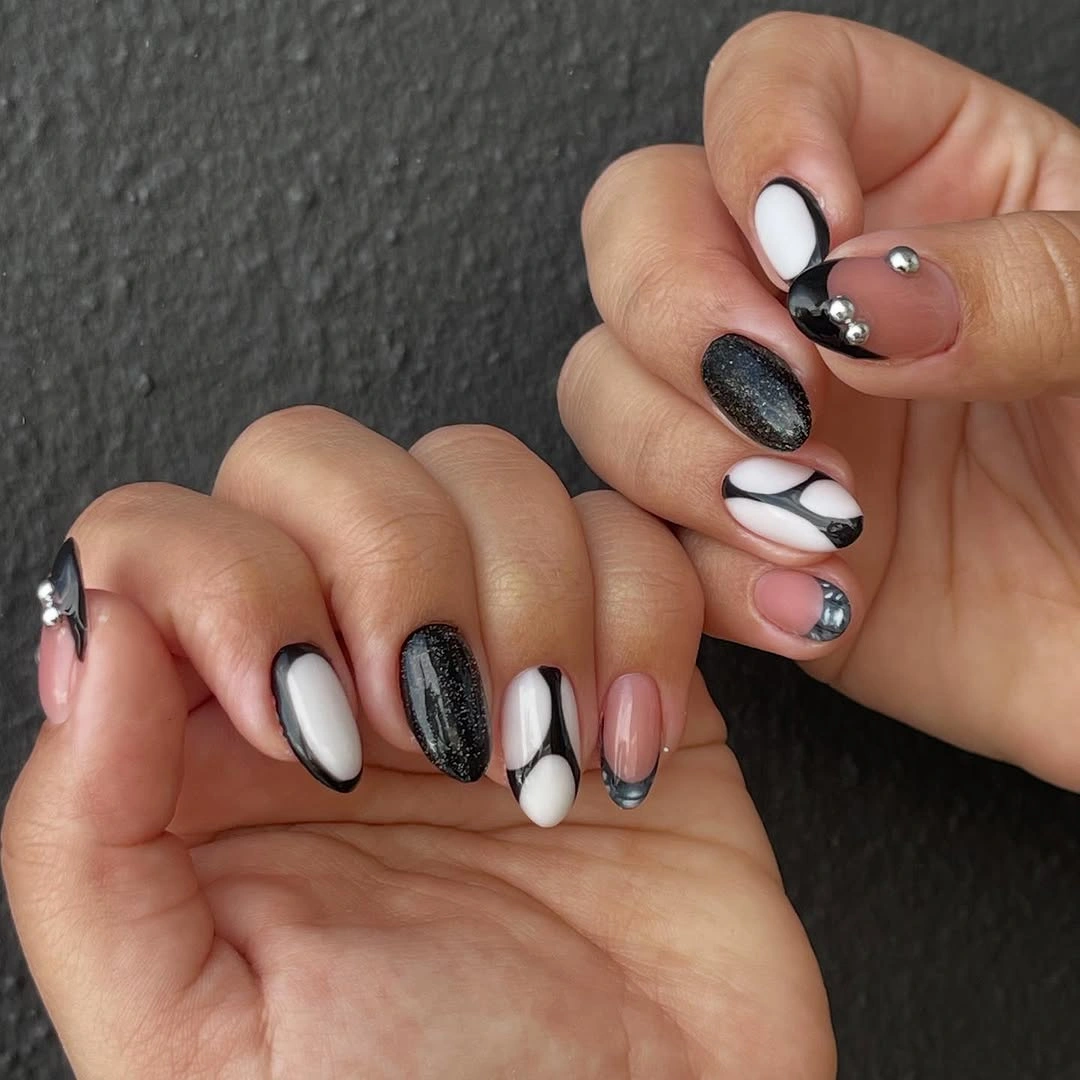
Soft pink, crisp white, deep black, and subtle silver accents create a balanced manicure across medium almond nails. I like using the pale shades as open space and allowing the darker details to frame selected areas instead of covering the entire surface. The result feels seasonal without becoming overly dramatic.
The silver works best as a finishing touch rather than the main feature. I would keep the reflective accents small and place them where they can highlight a line or edge. On shorter nails, I would simplify the black artwork and use fewer silver details so the design stays clean and readable.
Chocolate Checks on a Warm Nude Base
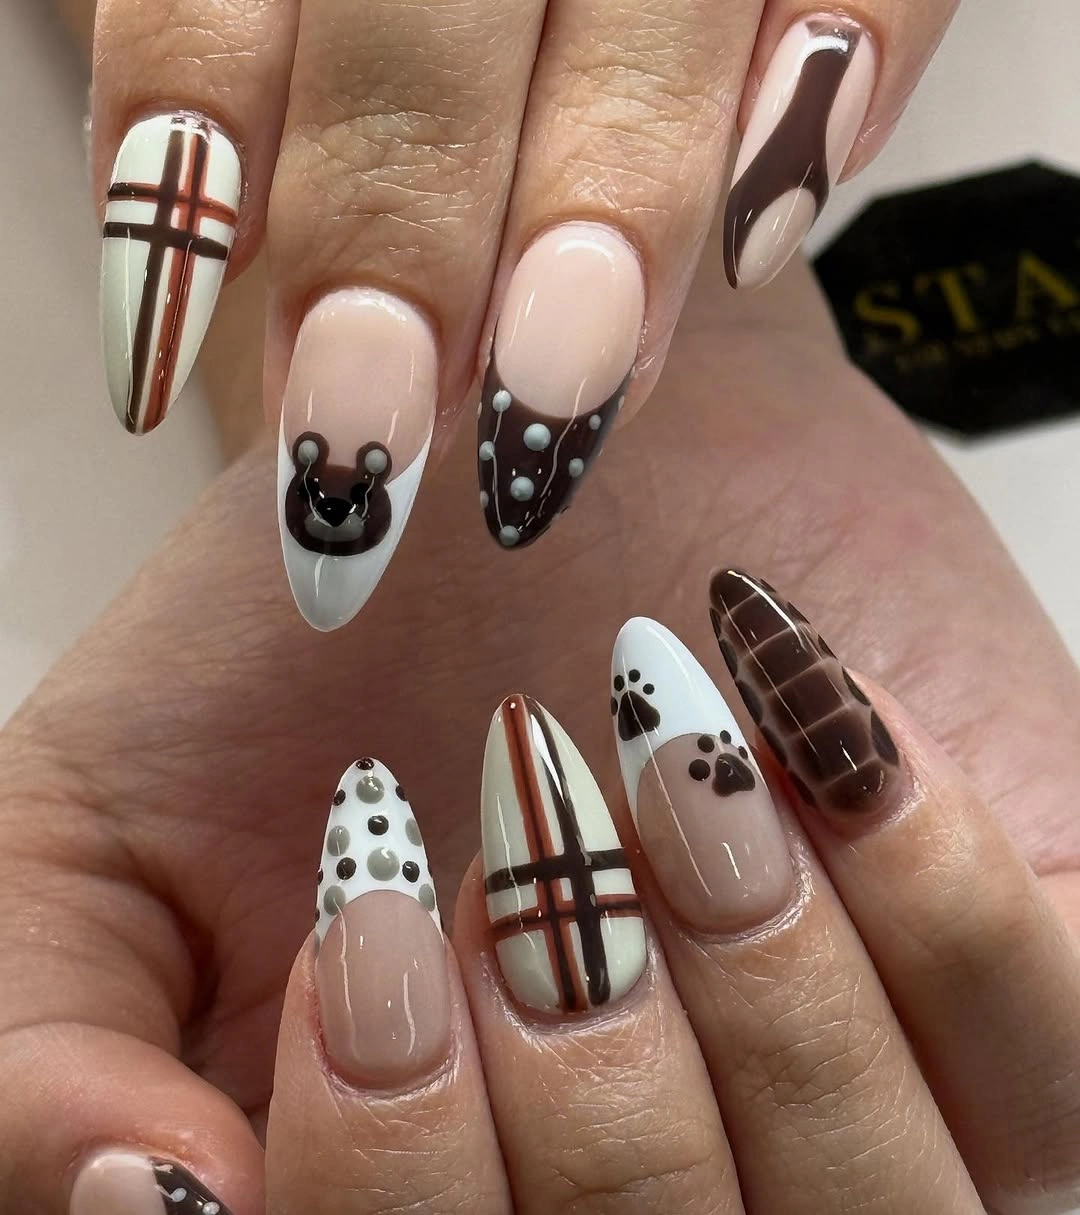
Warm nude paired with chocolate brown creates an especially inviting October palette. I like combining plaid-style lines with a few solid brown nails and small decorative details because the repeated brown shade keeps everything visually connected. The nude base also prevents the manicure from feeling too dark.
When I work with checks on an almond shape, I pay close attention to spacing. The squares need enough room to remain distinct rather than becoming a tiny blur. For a simpler version, I would keep the checker pattern on one accent nail and use chocolate brown on another while leaving the remaining nails softly nude.
Outlined White Panels on a Nude Ground
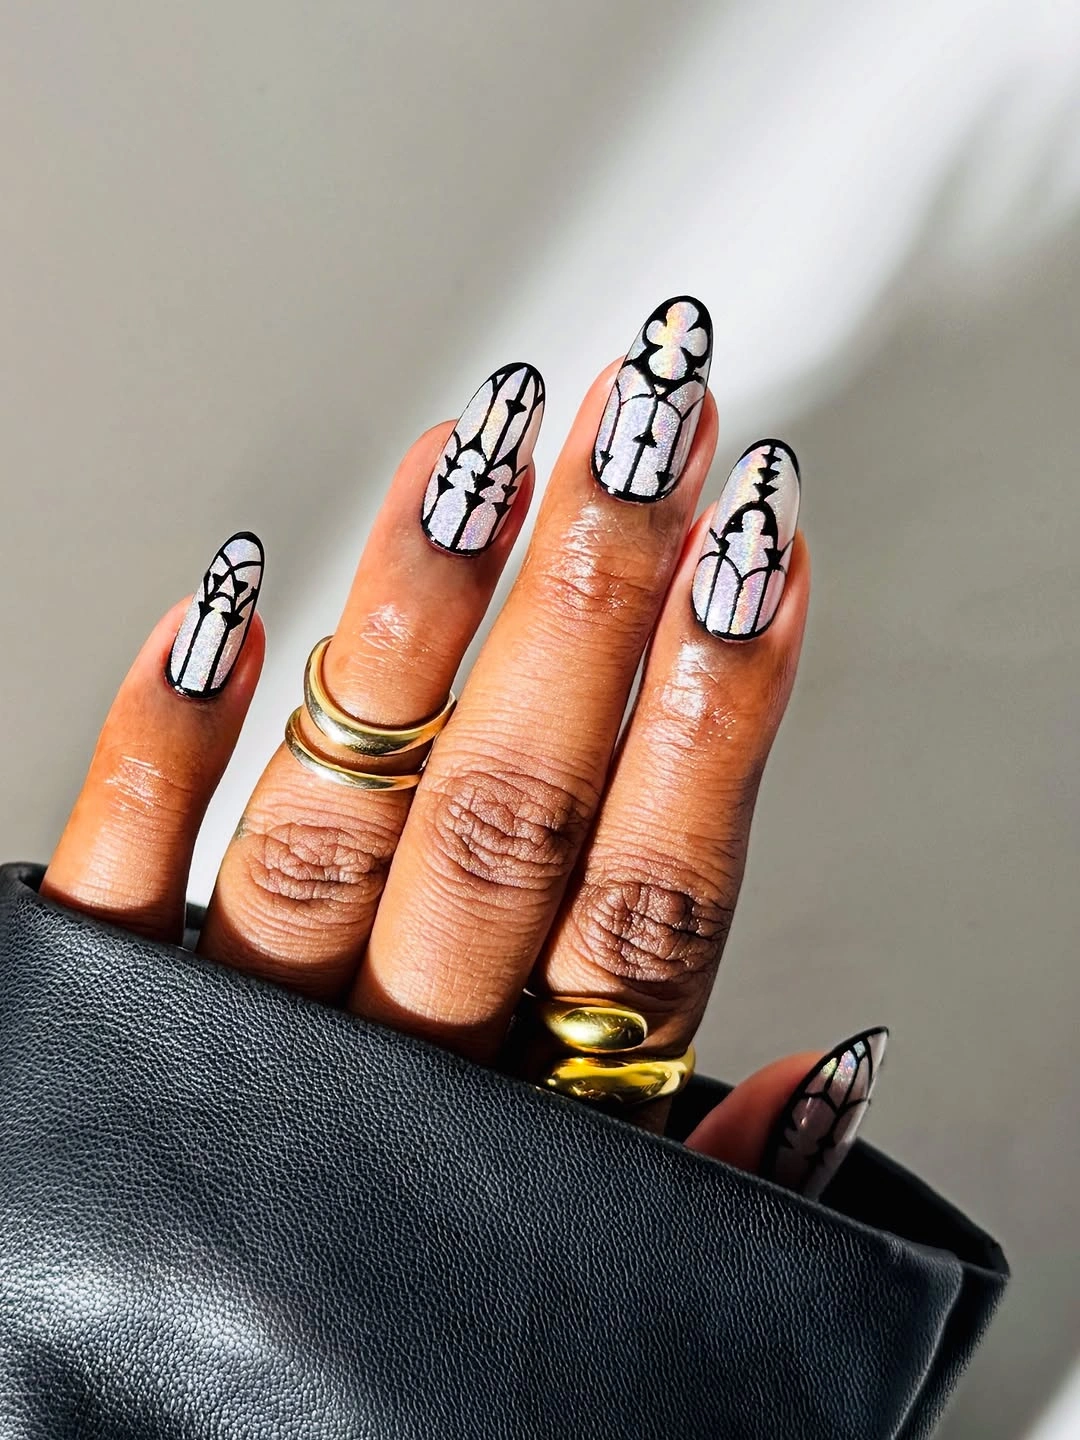
A nude base with white sections and fine black outlines gives long tapered nails a graphic but elegant appearance. I like how the nude space remains visible around the artwork, because it prevents several decorative elements from becoming one crowded composition. Small floral or web-inspired details can then add interest without covering the entire nail.
Black outlining is especially useful when I want strong contrast without using a completely dark manicure. The outline gives the white sections definition while keeping the overall palette light. On shorter nails, I would reduce the number of panels and keep at least one nail completely nude to maintain balance.
Short Orange Nails With White Details
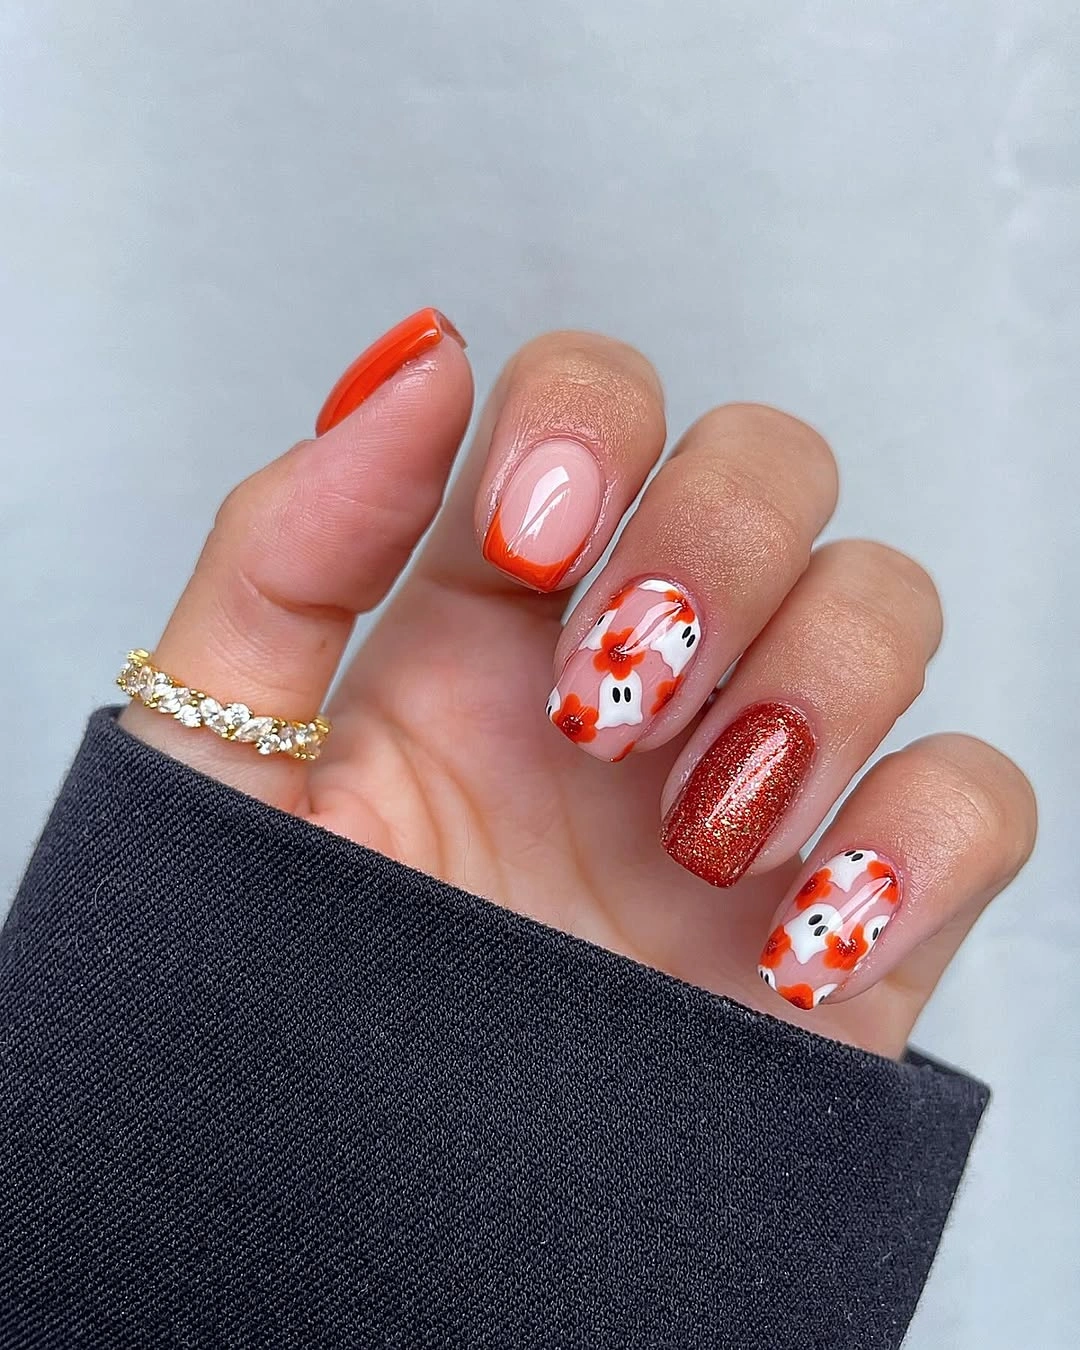
Bright orange-red immediately brings warmth to a short manicure, while translucent nude sections keep the look fresh. Small white floral-inspired marks add a delicate contrast, and a textured rust-colored accent can introduce another finish without overwhelming the compact shape. I like this approach because every nail has a clear visual role.
With short October nails, I usually avoid trying to fit an entire seasonal scene onto each finger. One strong color supported by a small motif is much easier to maintain and still looks distinctive. If full orange feels too bold, I would turn it into a curved tip over nude and reserve the white detail for one accent nail.
Muted Green and Gold Botanical Notes
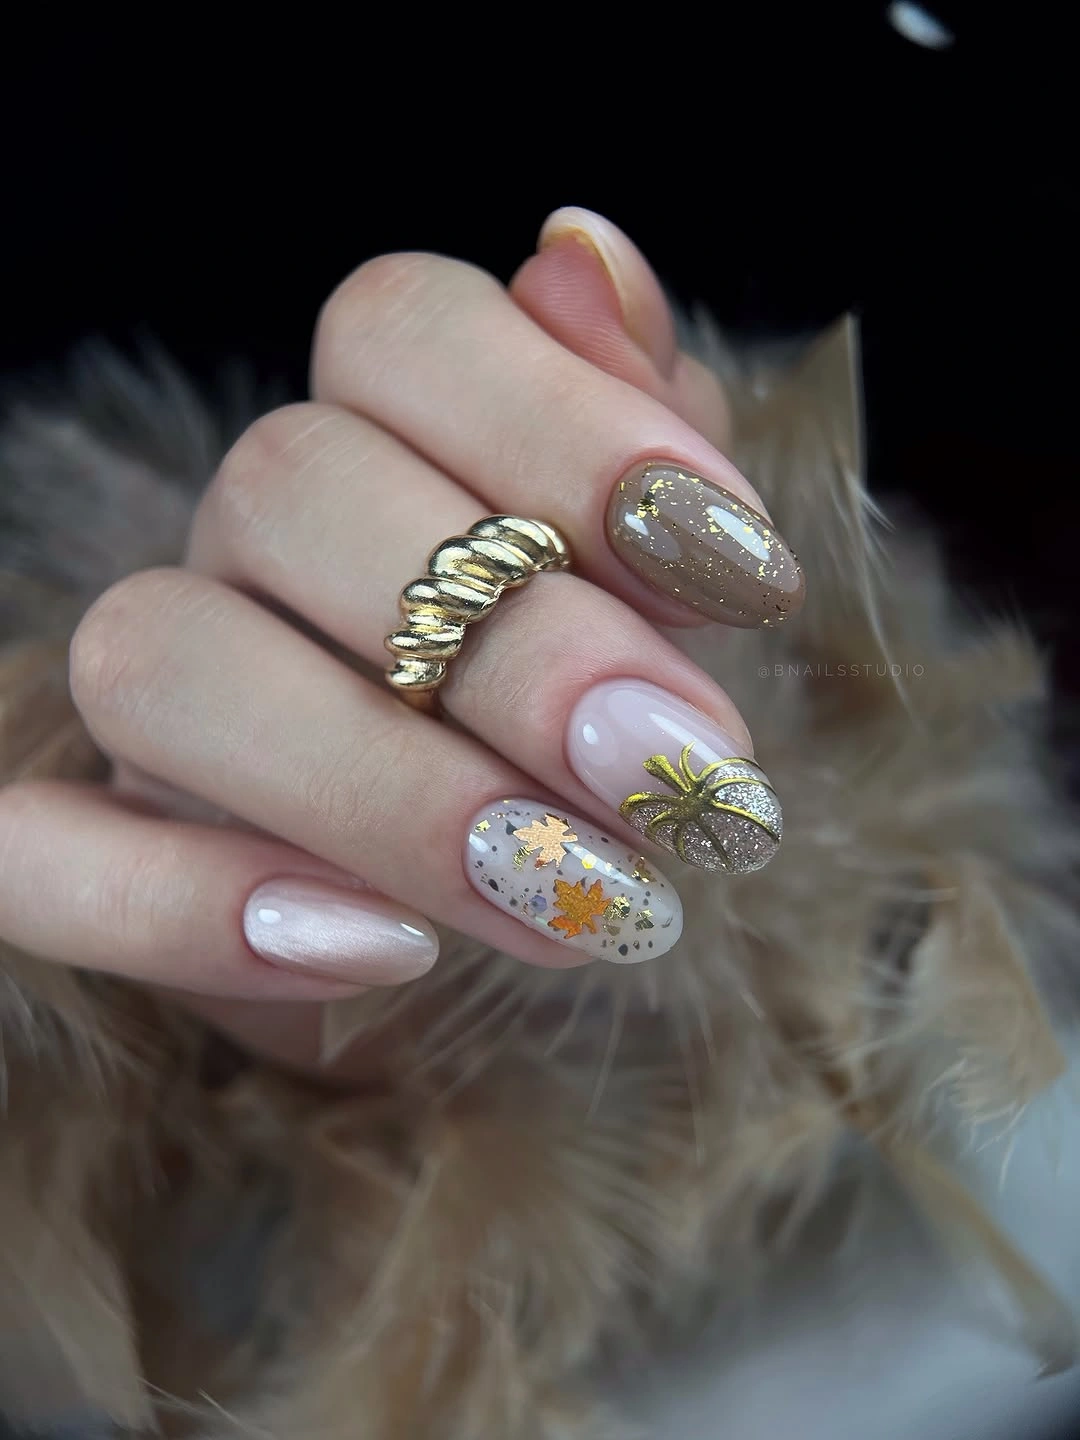
Milky nude, soft white, muted green, and delicate gold create a calmer interpretation of autumn nails. The green adds depth without looking overly bright, while the gold gives the botanical-inspired artwork a refined finishing touch. Almond nails work beautifully here because their curved outline complements the organic shapes.
I prefer keeping metallic details controlled with this type of manicure. A fine gold line or tiny reflective accent is enough to draw attention without competing with the botanical artwork. For an even quieter set, I would use muted green on one nail, a small gold accent on another, and let the remaining nails stay milky nude.
Short Cobalt With a Clean Glossy Finish
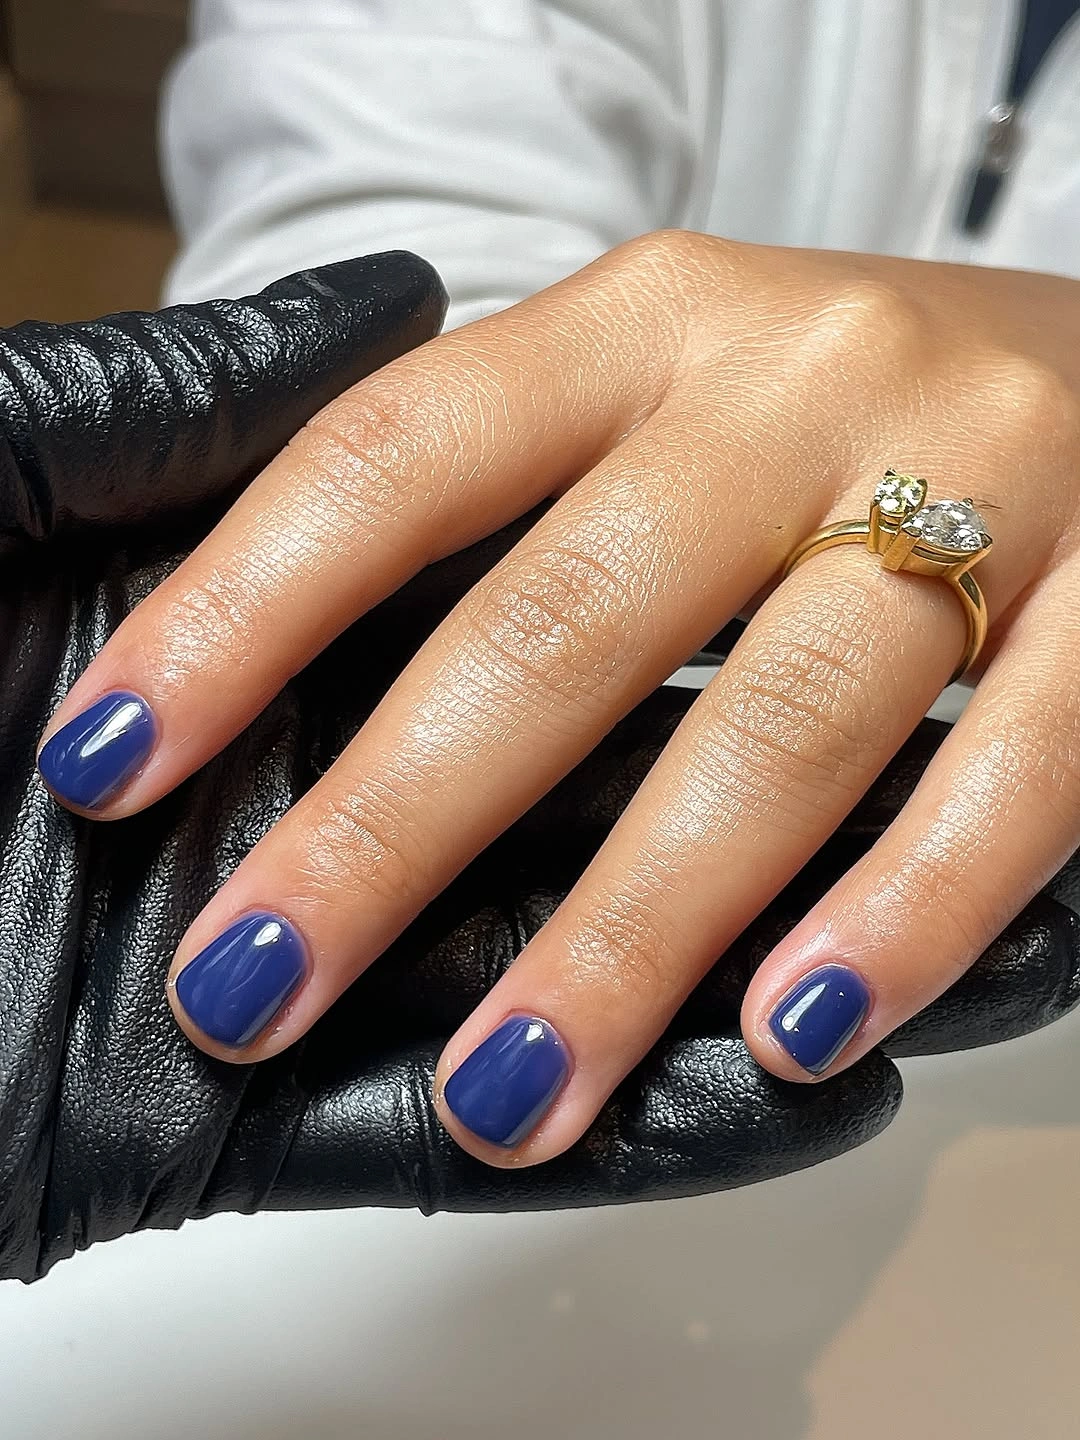
A saturated cobalt manicure proves that October nails do not need a complicated pattern to make an impression. On short square nails, the strong blue shade provides all the visual interest, while a glossy finish keeps the surface sleek and polished. The clean shape makes the bold color feel deliberate.
I often recommend a solid color when the shade itself has enough personality to carry the manicure. Cobalt has the depth and contrast needed to stand alone, especially against a crisp square shape. Because saturated colors reveal chips easily, I would focus on precise shaping and an even finish rather than adding unnecessary decorations.
Fine Black Curves on a Sheer Base
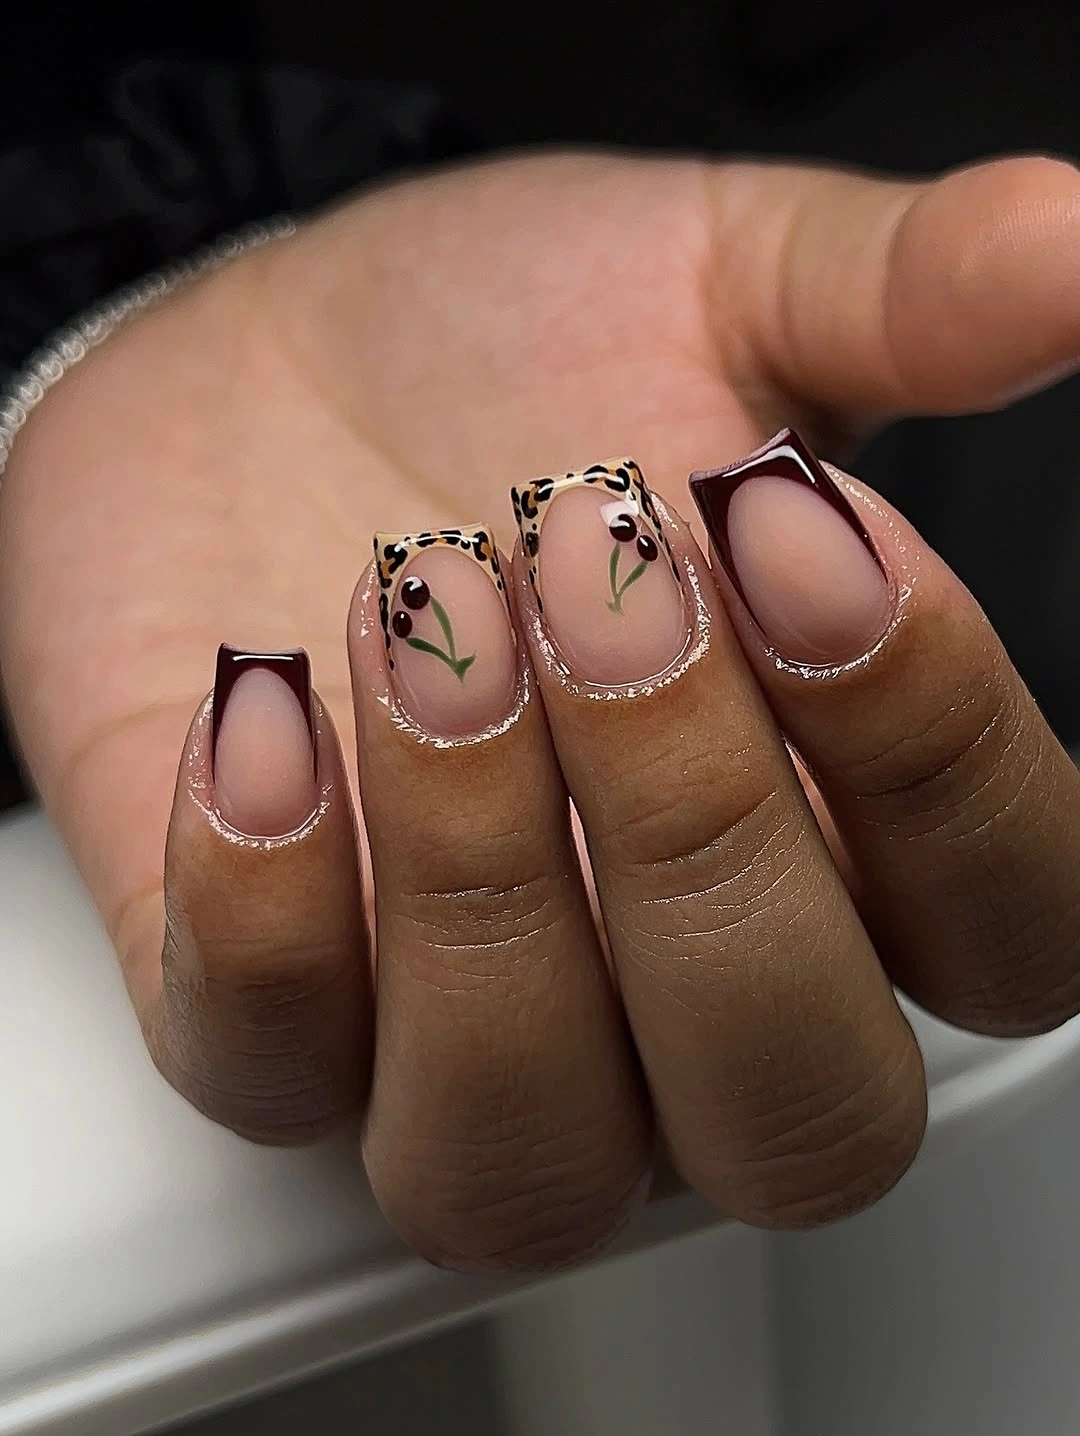
A sheer neutral base gives short nails a naturally light appearance, while delicate black curves introduce a graphic element. Small green leaf-inspired details add just enough color to make the design interesting without changing its understated character. I like this combination because the transparent-looking base gives every line room to breathe.
Fine artwork works best when it follows the natural direction of the nail. I would allow the black curves to echo the rounded shape and use the green accents sparingly. On a very short nail, choosing either the black linework or the green botanical detail can create an even cleaner result.
Small Checkerboard With Grounding Brown Solids
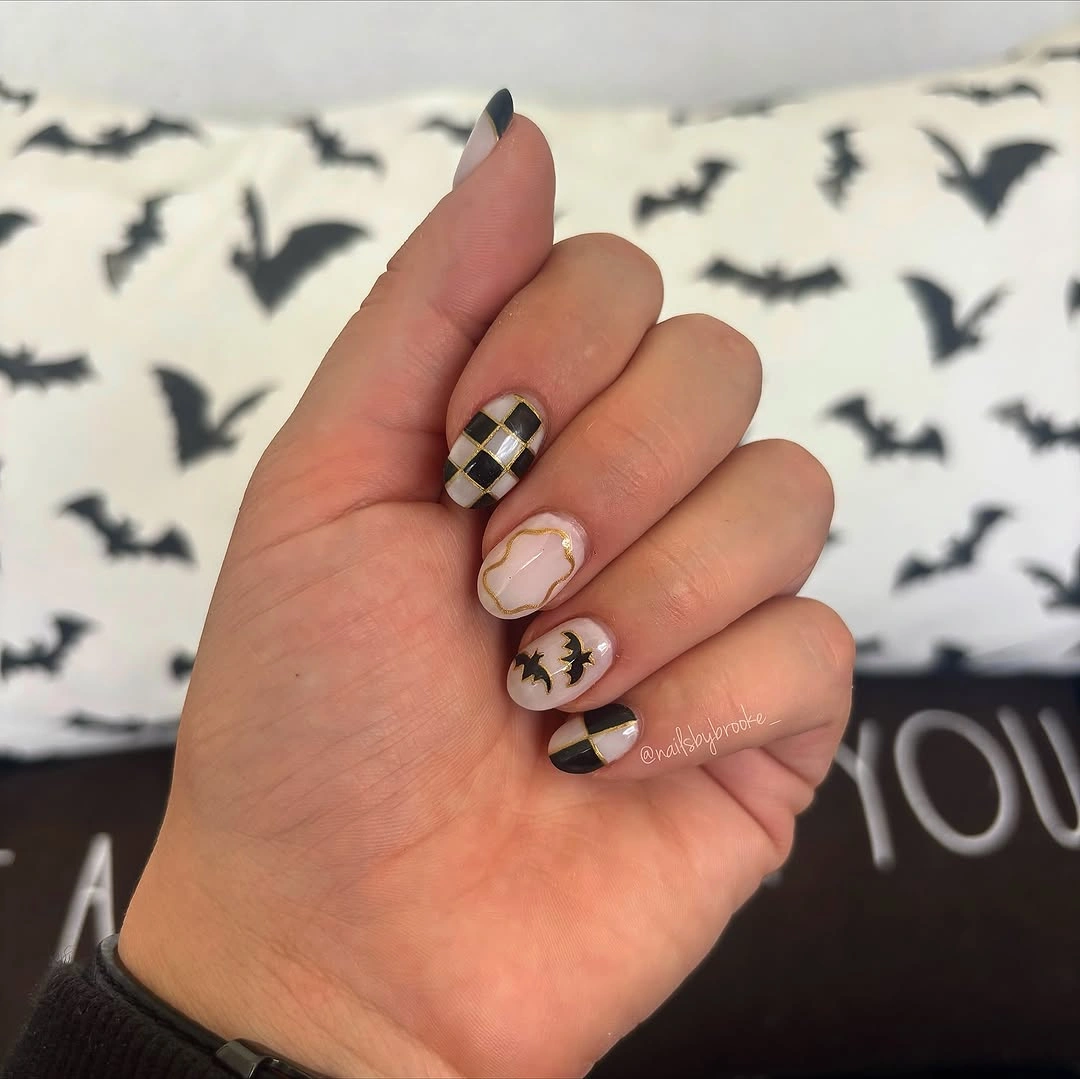
Brown and cream checkerboard details look especially polished when placed on a short nude manicure. I like limiting the check pattern to part of the nail and repeating the same brown shade on a solid accent nail. This creates a visual connection without covering every finger in geometry.
The size of the checks matters greatly on shorter nails. I always prefer larger, clearly separated squares because tiny grids can lose their definition. Deep green or burgundy could also replace the brown while keeping the same layout, but I would repeat the chosen shade elsewhere to keep the manicure cohesive.
Hot Pink Framing Mixed Animal Prints
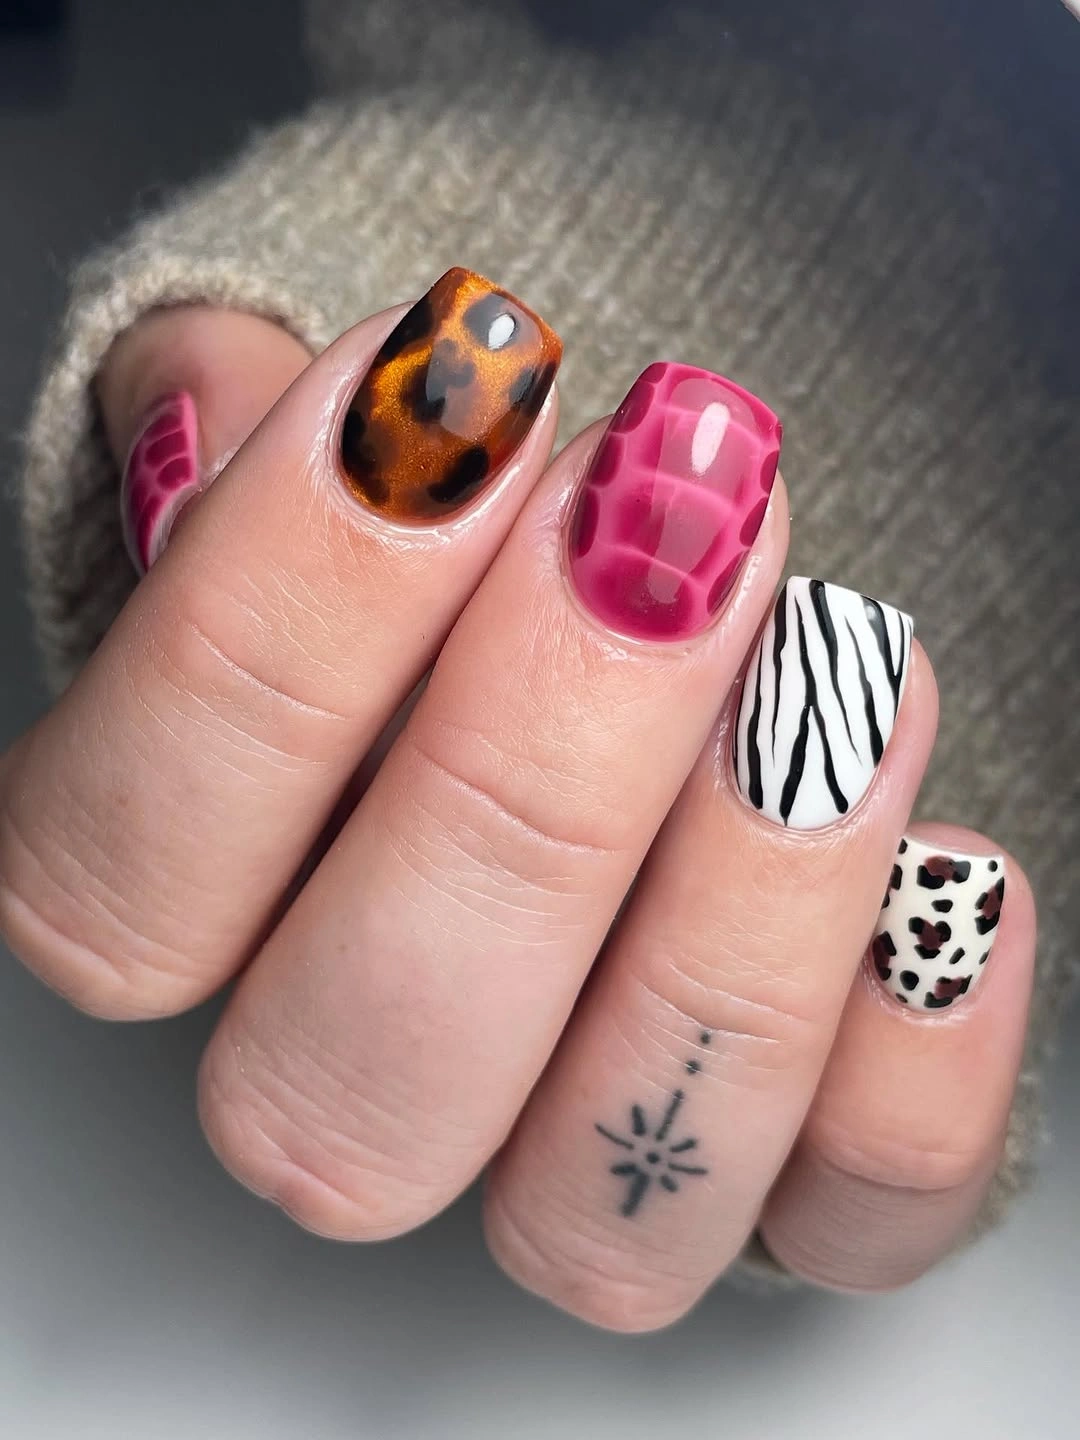
Hot pink creates a vivid contrast against brown, black-and-white stripes, and spotted animal-inspired patterns. Rather than covering every nail with a print, I like using solid pink and warm brown sections as visual breaks. This keeps the manicure playful while giving the patterned nails enough space to stand out.
When several prints are involved, repeating a strong color is an easy way to create structure. I would keep the pink as a solid anchor and limit each animal-inspired pattern to selected nails. On a short rounded shape, the prints should remain bold and simple because extremely fine details can disappear quickly.
Mint and Pink Around Graphic Prints
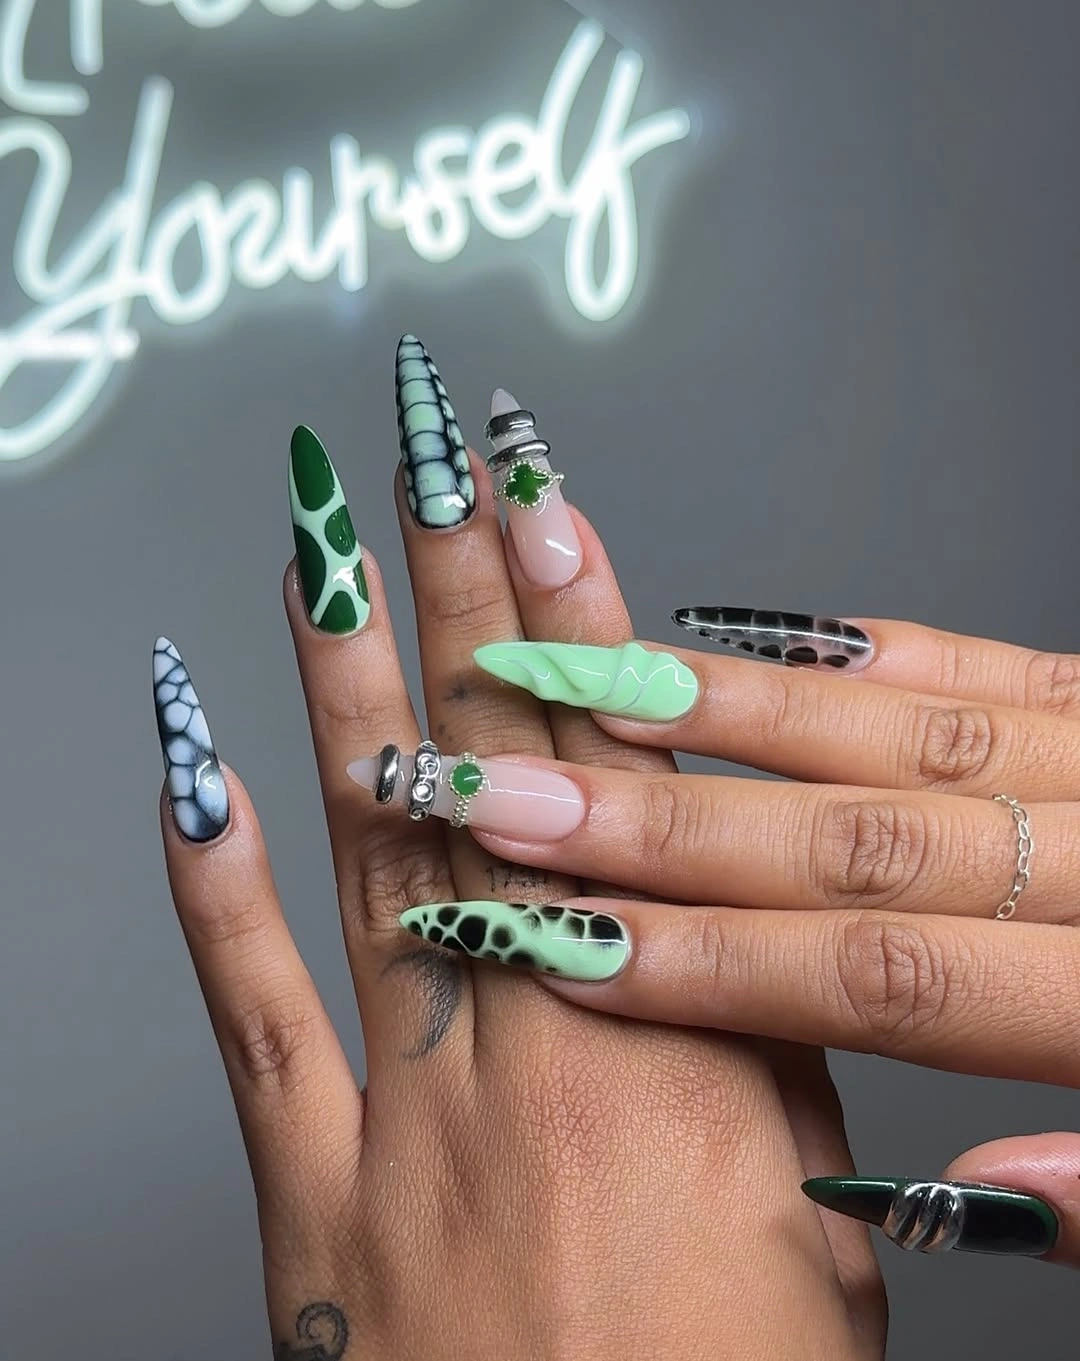
Soft mint and pale pink create a gentle backdrop for bold black-and-white graphic patterns on long almond nails. I like this combination because the pastel shades soften the stronger print while still giving the manicure plenty of personality. Leaving portions of the nails relatively open makes the different elements easier to appreciate.
For a more wearable version, I would reduce the number of printed nails rather than introducing another color. One graphic accent, one mint nail, and several pink-based nails can create the same playful effect with less visual competition. The almond shape also gives the pastel areas enough length to look graceful instead of crowded.
Peach Squares With One Gold-Flecked Accent
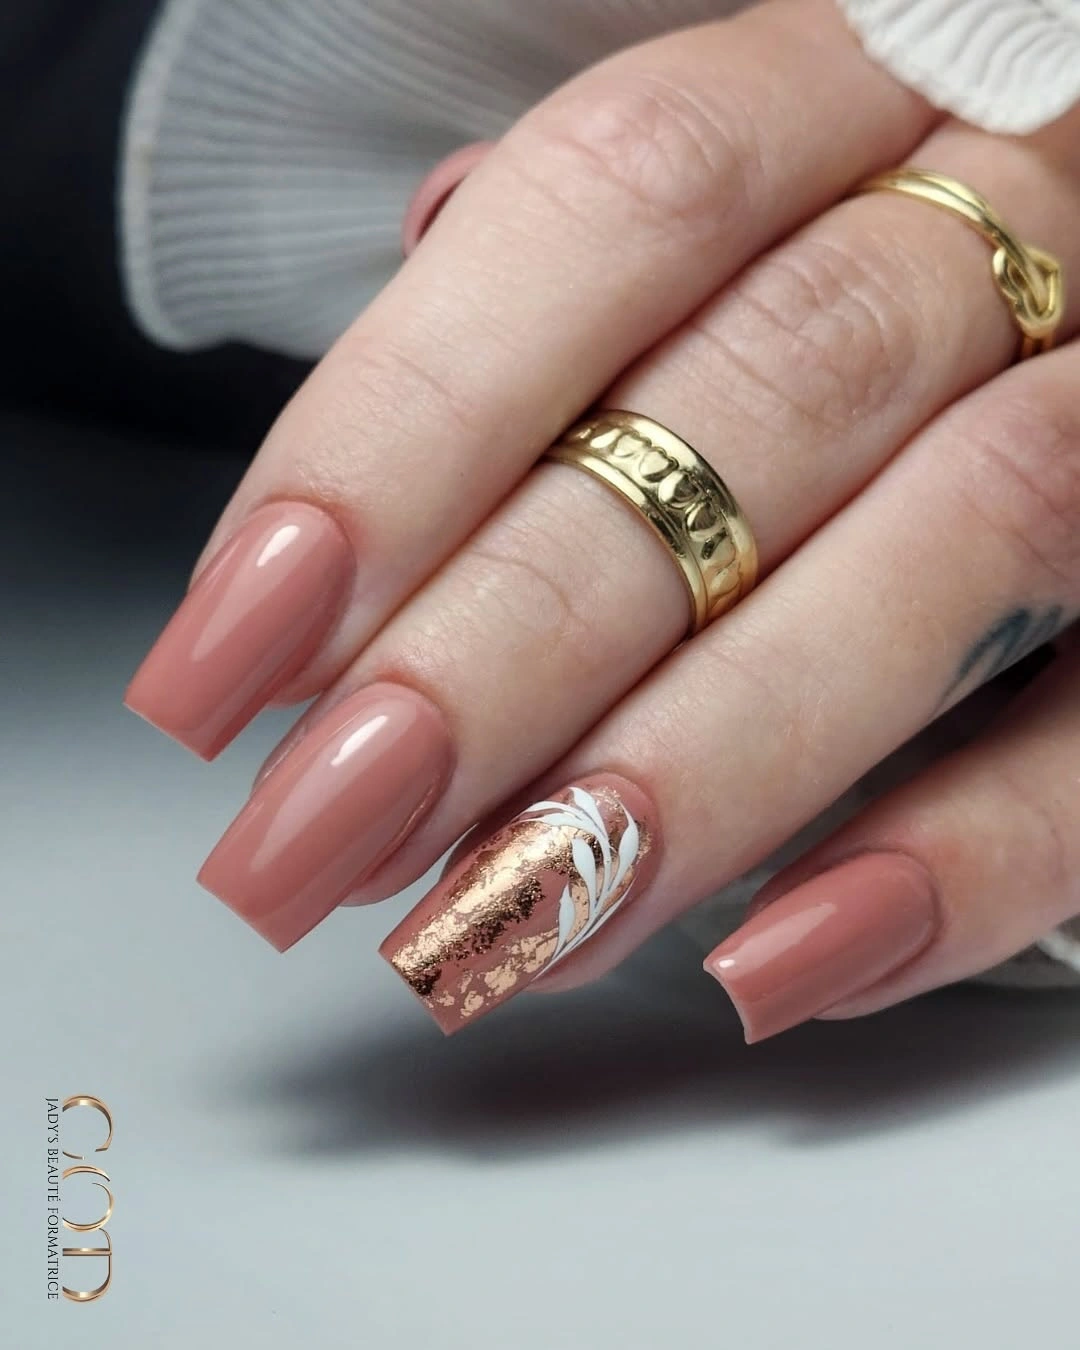
Glossy peach-nude is a beautiful base for long square nails, especially when paired with one creamy accent featuring irregular gold details. I like using a single reflective nail because it immediately becomes the focal point while the surrounding peach nails remain smooth and understated. The warm palette feels polished without relying on heavy decoration.
The accent becomes more effective because the rest of the manicure stays simple. If I wanted additional variation, I would repeat the gold as one very thin detail on another nail rather than adding several foil-covered surfaces. The broad square shape gives the peach shade plenty of room to look rich and even.
Pale Floral Lines With Lavender Movement
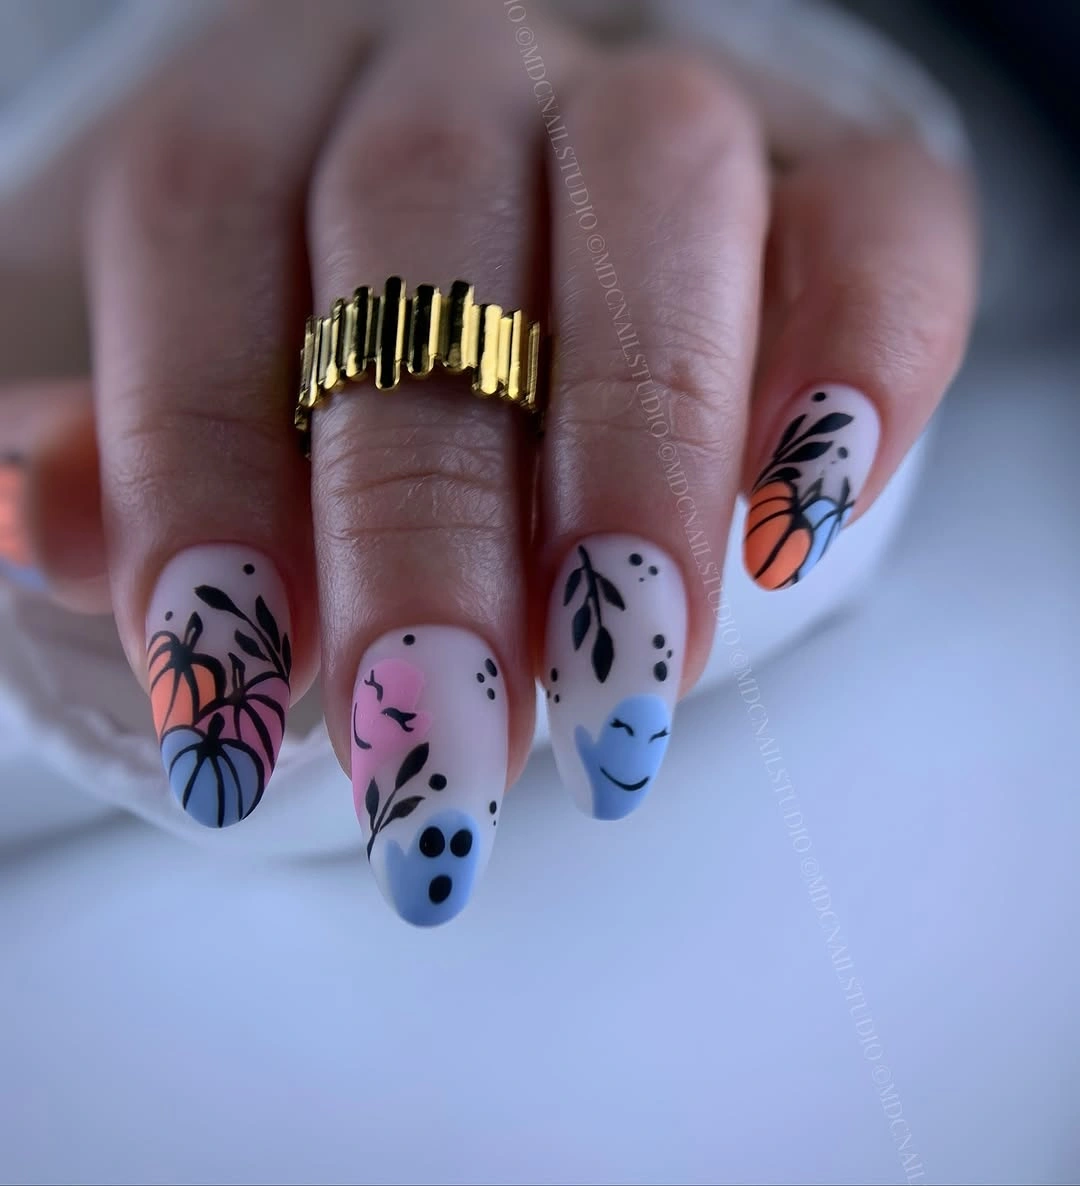
A pale base paired with black botanical linework and lavender accents creates a delicate manicure with plenty of movement. I like allowing the light background to remain dominant because it gives each fine leaf, flower, or butterfly-inspired detail a clean outline. Lavender then provides a soft color note without overpowering the artwork.
When working with detailed line art, I always protect the empty space around the illustration. Too many overlapping elements can make even a beautiful drawing difficult to read. On a shorter almond shape, I would place the lavender on one or two nails and reserve the black linework for a single accent while keeping the rest of the manicure pale.
Green and Berry Around Tiny Botanical Art
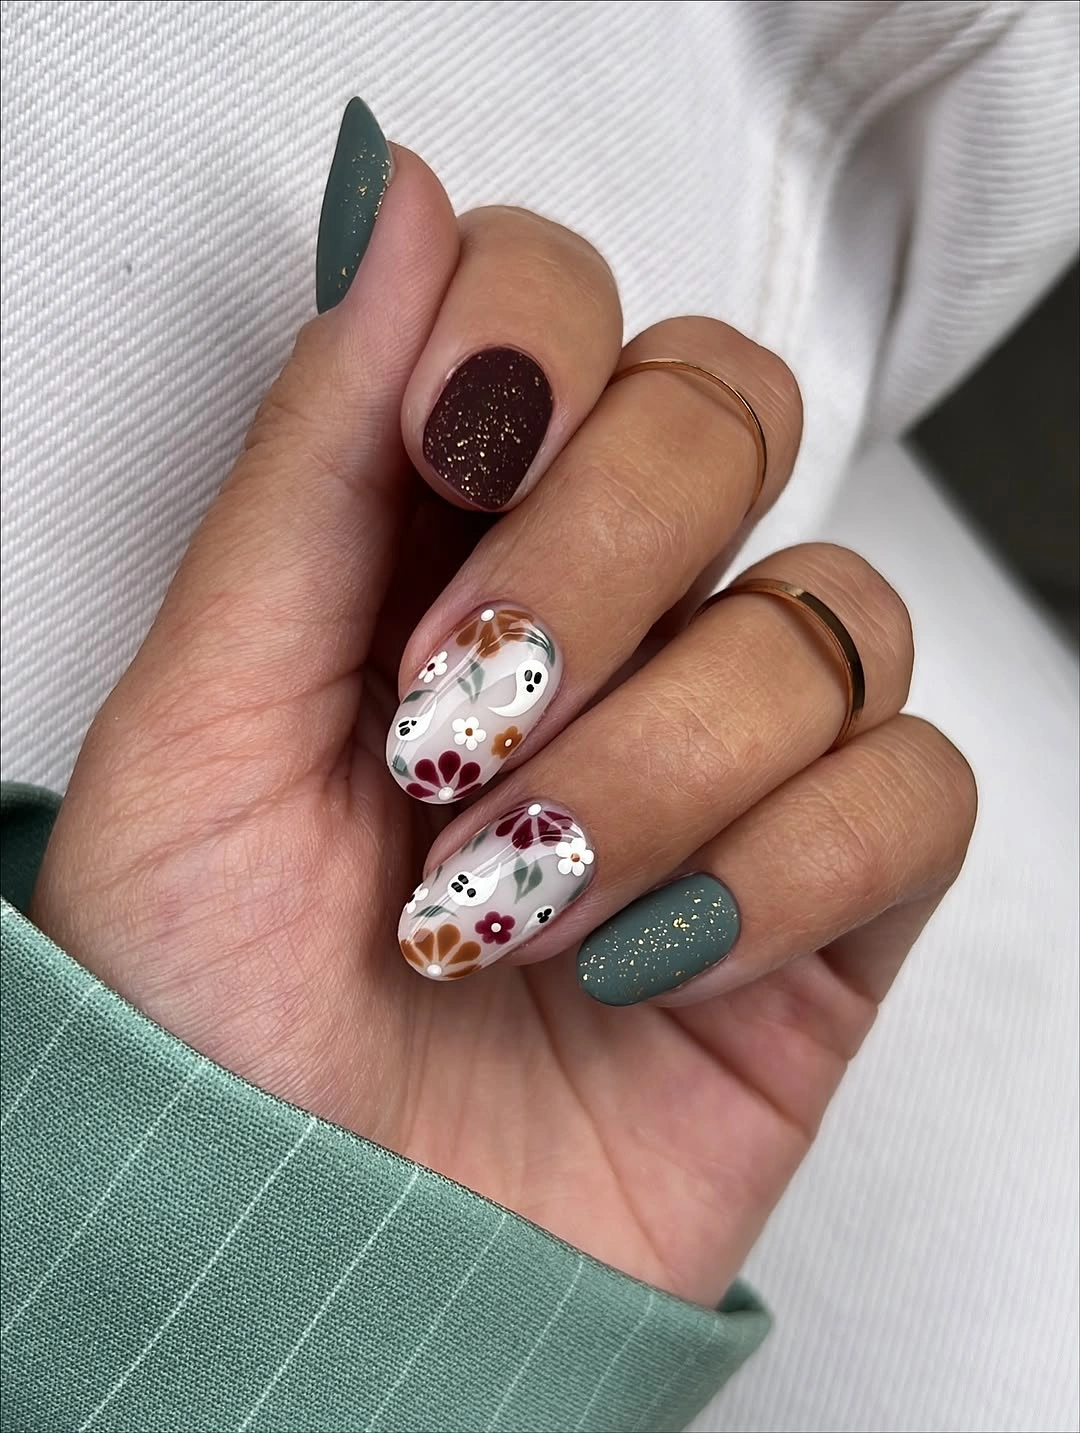
Deep green, berry-toned brown, milky white, and tiny botanical accents create a grounded autumn combination. I like alternating solid dark nails with lighter illustrated nails because the artwork does not have to carry the entire design. The almond shape helps the colors flow naturally from one finger to the next.
The strongest feature here is the alternation between depth and lightness. If the nails are shorter, I would keep the green as a solid color and place one small botanical detail on a nude or milky accent nail. Instead of adding more illustrations, I would deepen the green or berry shades when I want the manicure to feel more autumnal.
Chocolate Solids Beside a Compact Grid
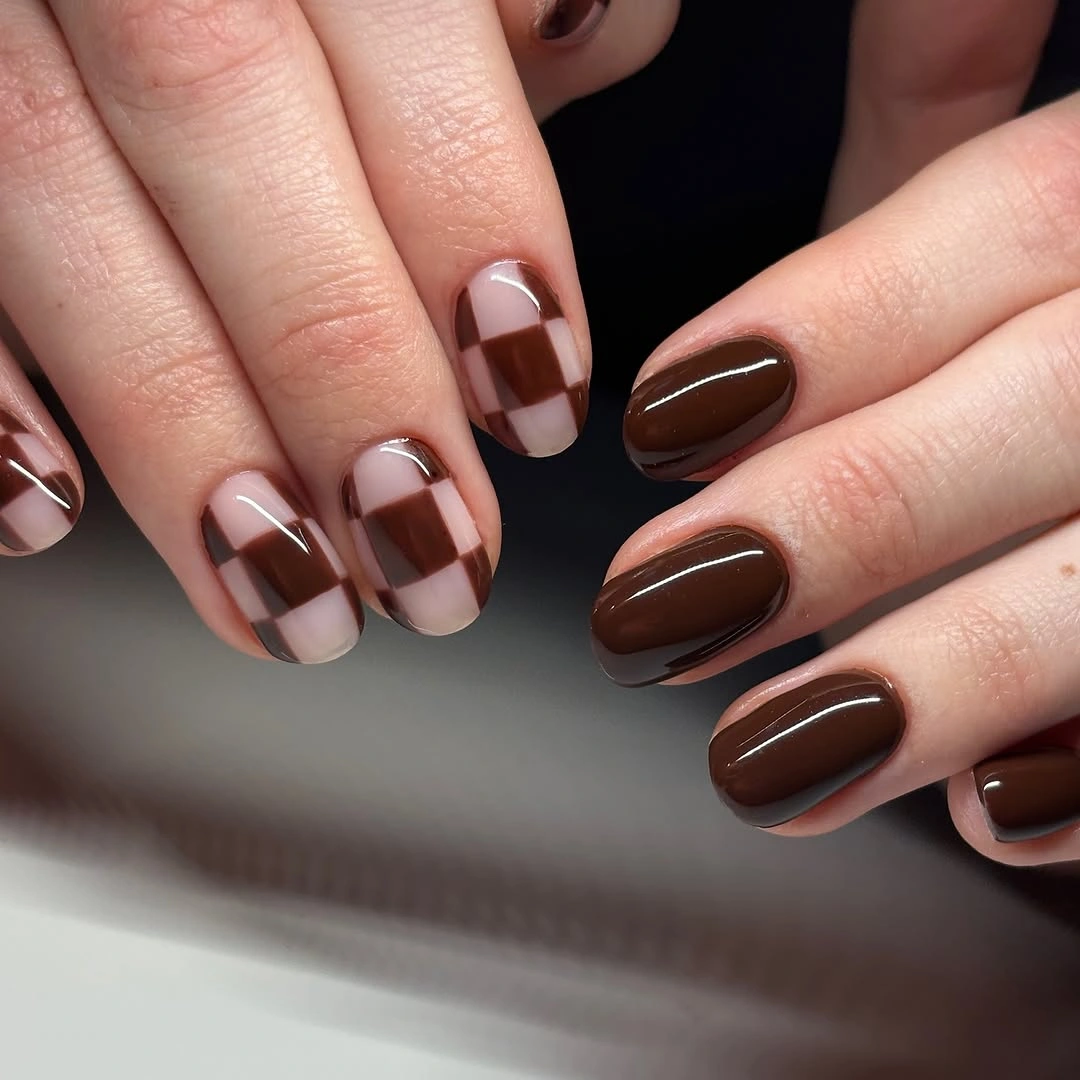
Glossy chocolate brown works beautifully alongside nude-pink, white curves, and a small checkerboard accent. I like repeating the chocolate shade as both a solid color and part of the pattern because it ties the different nails together. The nude areas keep the darker palette from feeling too heavy.
Short nails need patterns that can be understood quickly, and a compact checkerboard does exactly that when the squares are clearly spaced. If the brown is too subtle against the nude, I would increase the contrast rather than making the grid smaller. A white curved detail can remain as a light interruption without introducing another major pattern.
Red Curves Around Tiny Ghost Accents
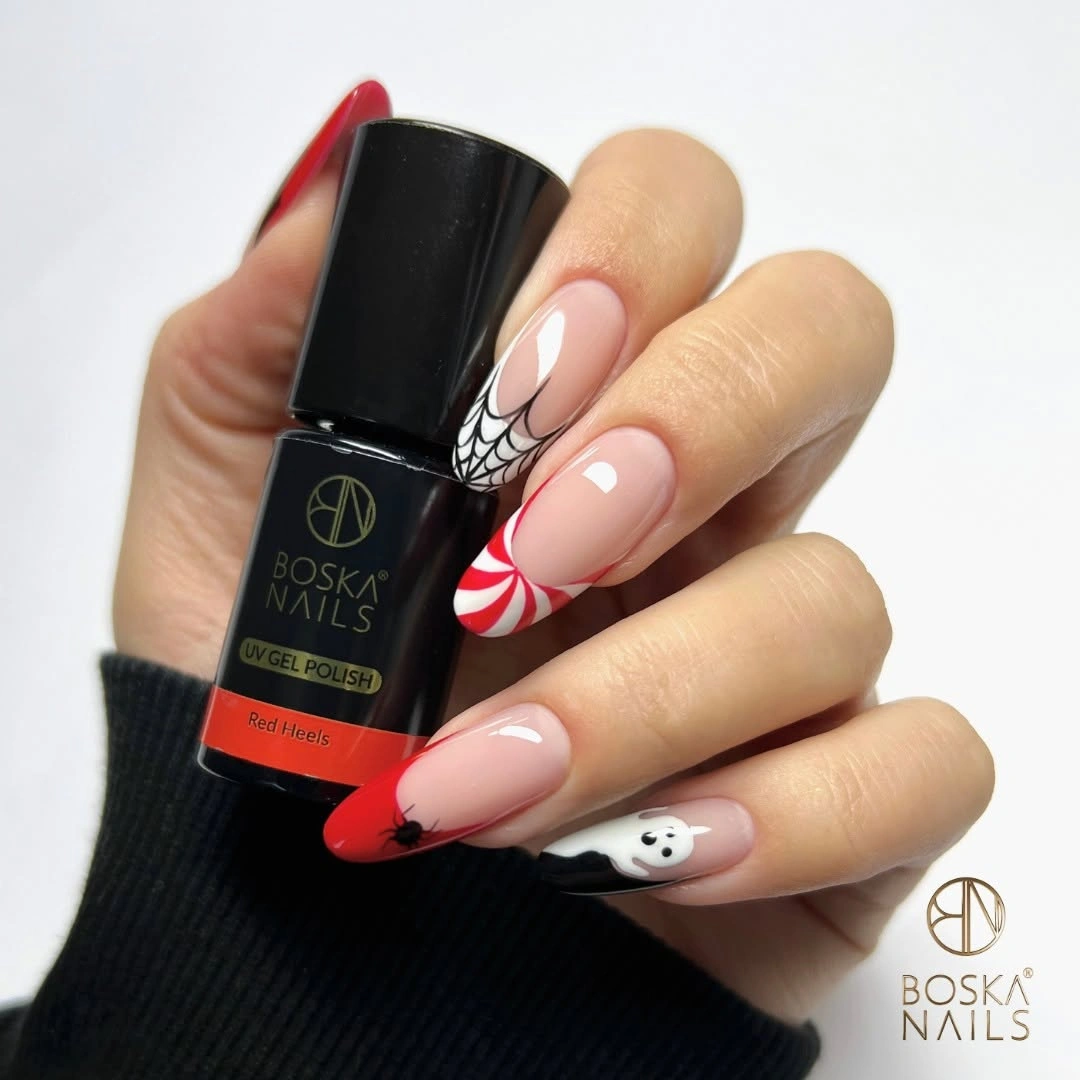
Pale pink nails with curved red tips create a playful October look while leaving plenty of the base visible. Tiny white ghost-inspired details can then act as unexpected accents rather than becoming the entire theme. Fine black lines help separate the miniature artwork from the surrounding pale surface.
I like curved red edges because they give the manicure a seasonal feeling without requiring every nail to be completely red. For a subtler version, I would keep the red curves and one small character detail while removing additional symbols. Clean, even curves are especially important because any unevenness will be more noticeable against the light base.
Abstract Black Doodles on Light Almond Nails
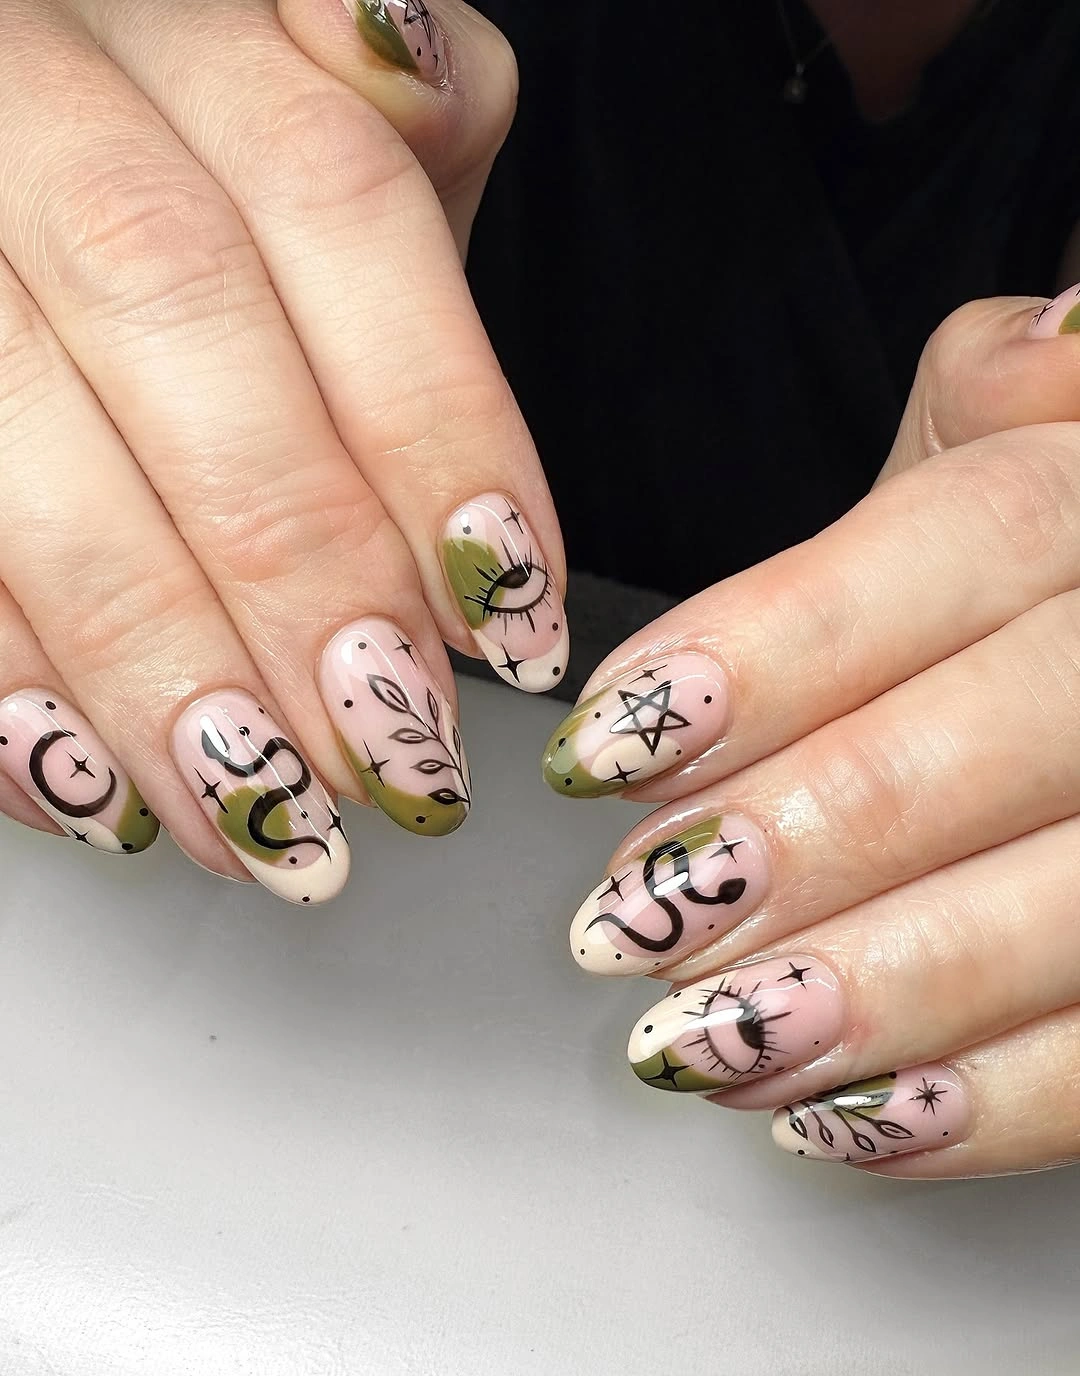
A light nude-pink base provides a clean canvas for black doodles, expressive faces, stars, curves, and small touches of green or yellow. I enjoy this type of manicure because the drawings do not need to form one literal scene. The repeated black line quality is enough to make the different marks feel connected.
The key with doodle nails is knowing when to stop. I would choose two or three types of symbols and repeat them selectively instead of filling every available space. The long almond shape gives the linework room to move, but leaving one nail mostly bare creates an important visual pause.
Smoky Sage Green With Reflective Depth
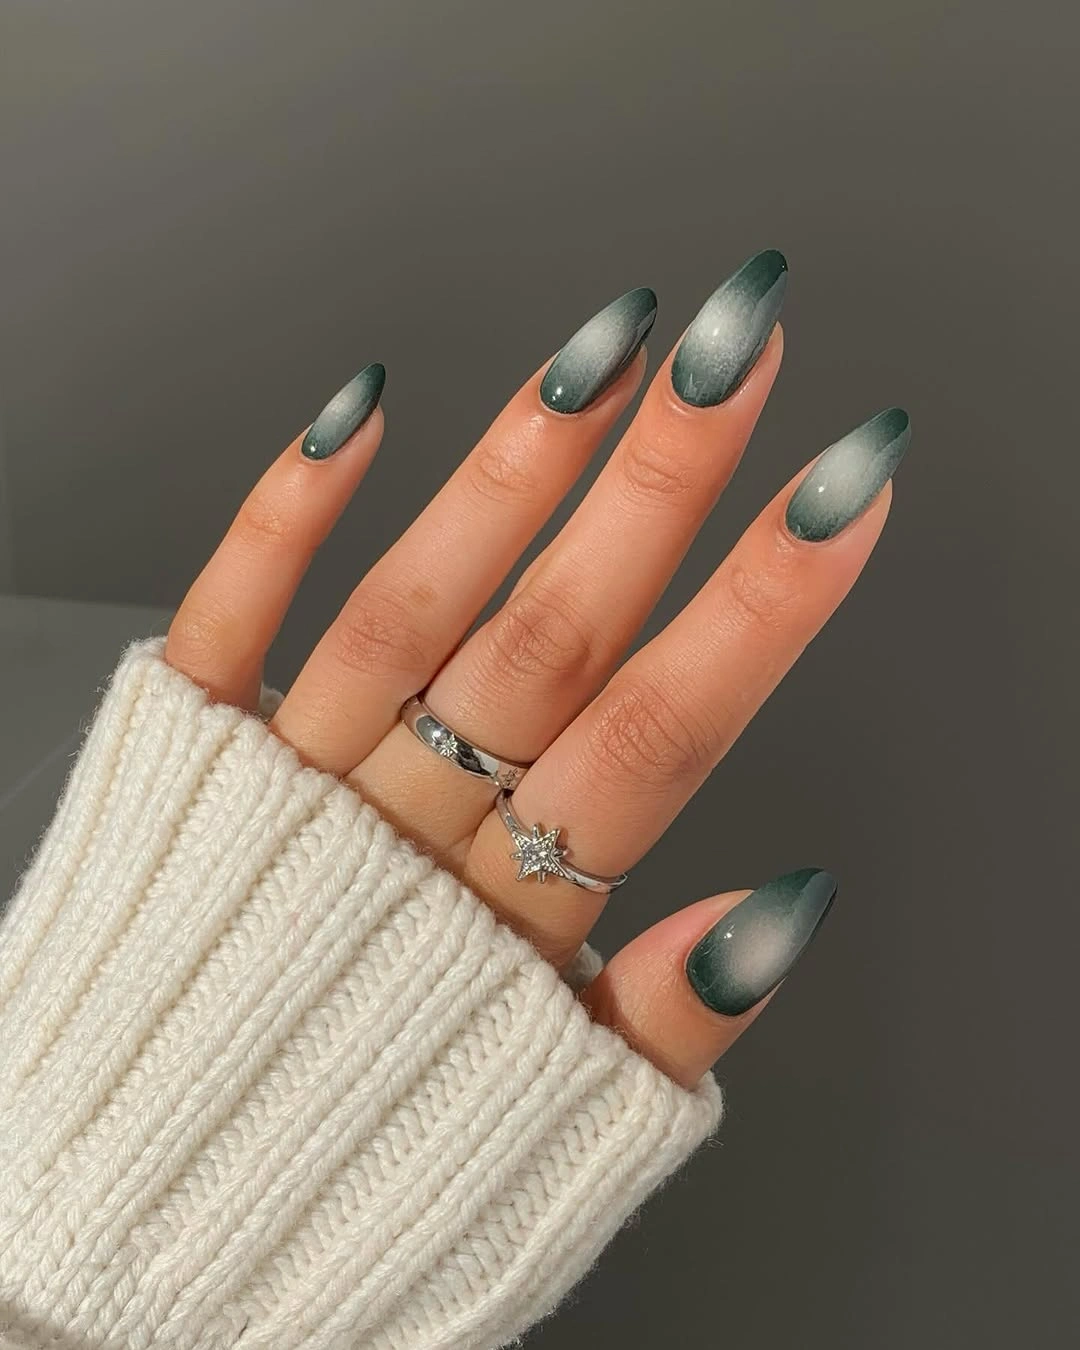
Deep sage green with a smoky center creates a dimensional October manicure without relying on artwork. I like how the darker center adds depth while the softer edges keep the shade from becoming too heavy. The almond shape further enhances the gradual movement of the color.
This is a strong choice when I want autumn depth with a sophisticated finish rather than a themed illustration. I would keep the gradient soft and avoid adding glitter or additional patterns because the reflective surface already changes beautifully under different lighting. A smooth smoky finish can also make the manicure feel more versatile.
Lavender Swirls With Selective Reflective Details
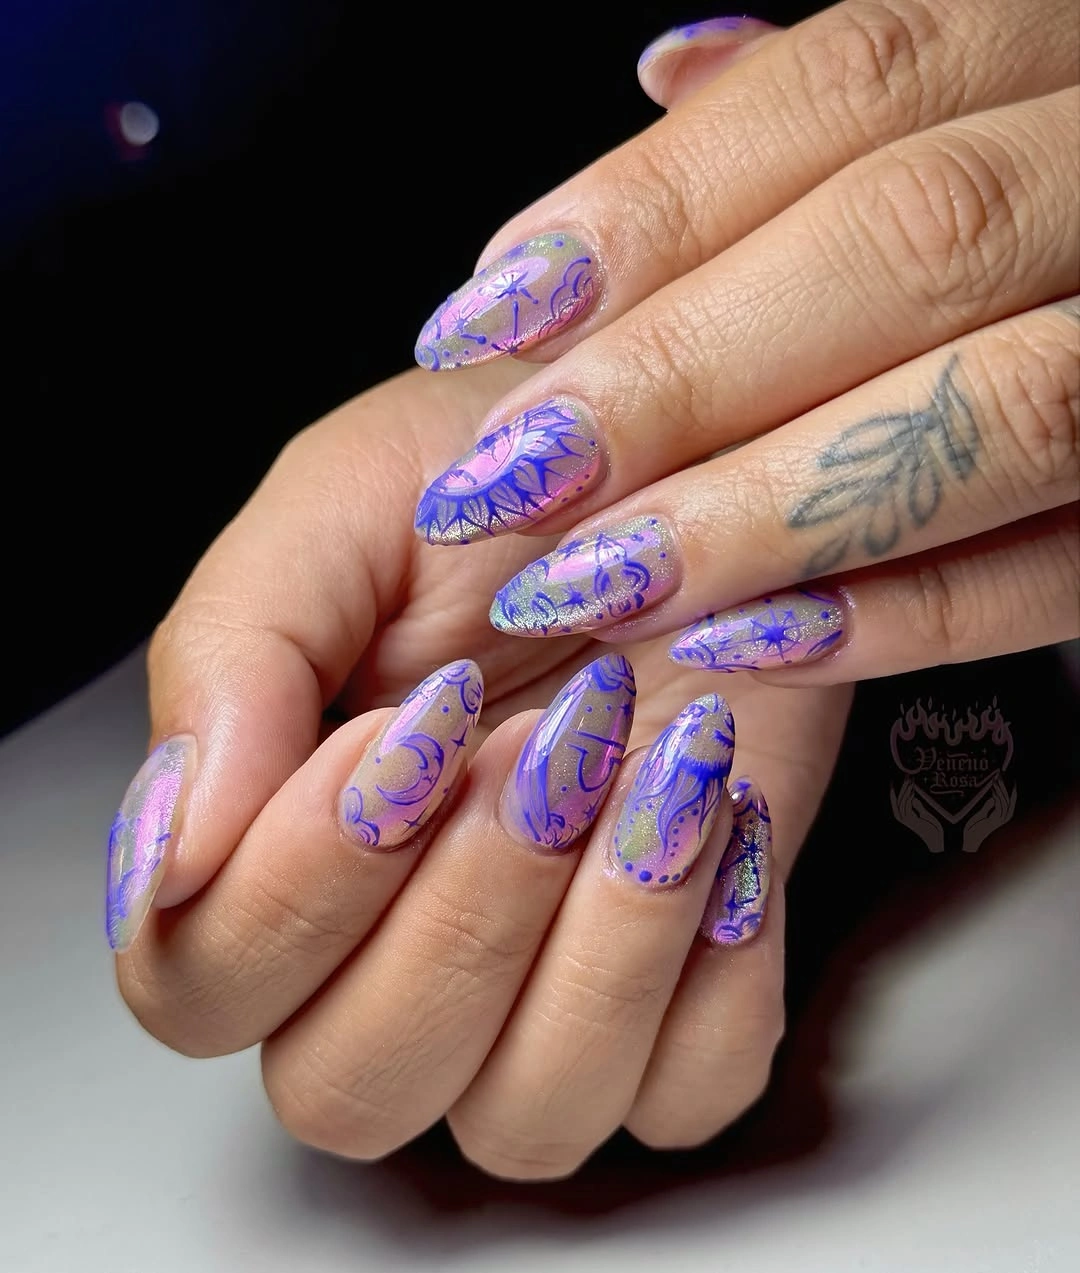
Lavender and deeper purple shades create a flowing design when paired with translucent areas, curved lines, and a few reflective accents. I like using the swirls along the length of long almond nails because they reinforce the elongated shape rather than cutting it into separate sections. Different purple tones provide dimension without requiring a contrasting color.
The most polished version does not repeat every effect on every nail. I would keep the strongest swirl on one or two fingers and use smaller reflective details elsewhere. If the manicure begins to feel crowded, removing an embellishment is more effective than changing the main color because the translucent space is an important part of the design.
Thin White Edges on a Sheer Neutral
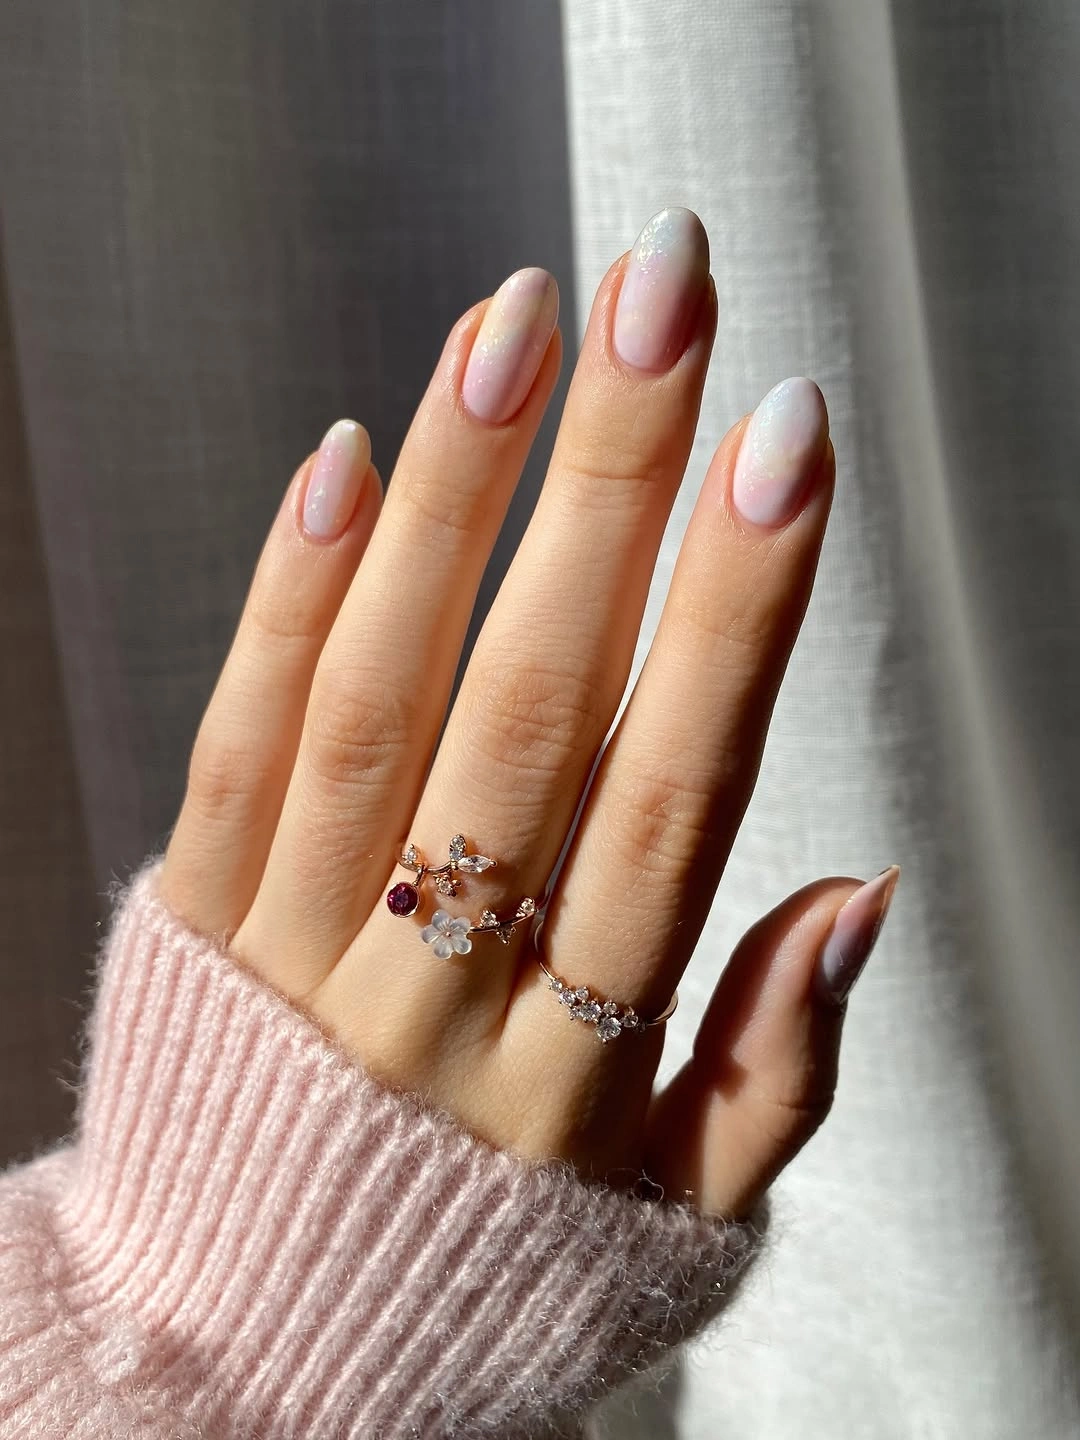
A sheer nude base with delicate white curved edges gives long almond nails a refined interpretation of a French manicure. I like keeping the center of the nail transparent-looking because it allows the white border to define the shape without covering too much surface. Small clear or metallic-looking accents can provide a subtle finishing detail.
The white edge should remain the main feature, especially on a shorter nail. I would make the line slightly more noticeable as the nail length decreases and remove tiny accents that could compete with it. A fully opaque white tip would create a stronger statement, but the sheer center is what gives this version its airy quality.
Black Base With Flowing White Smoke
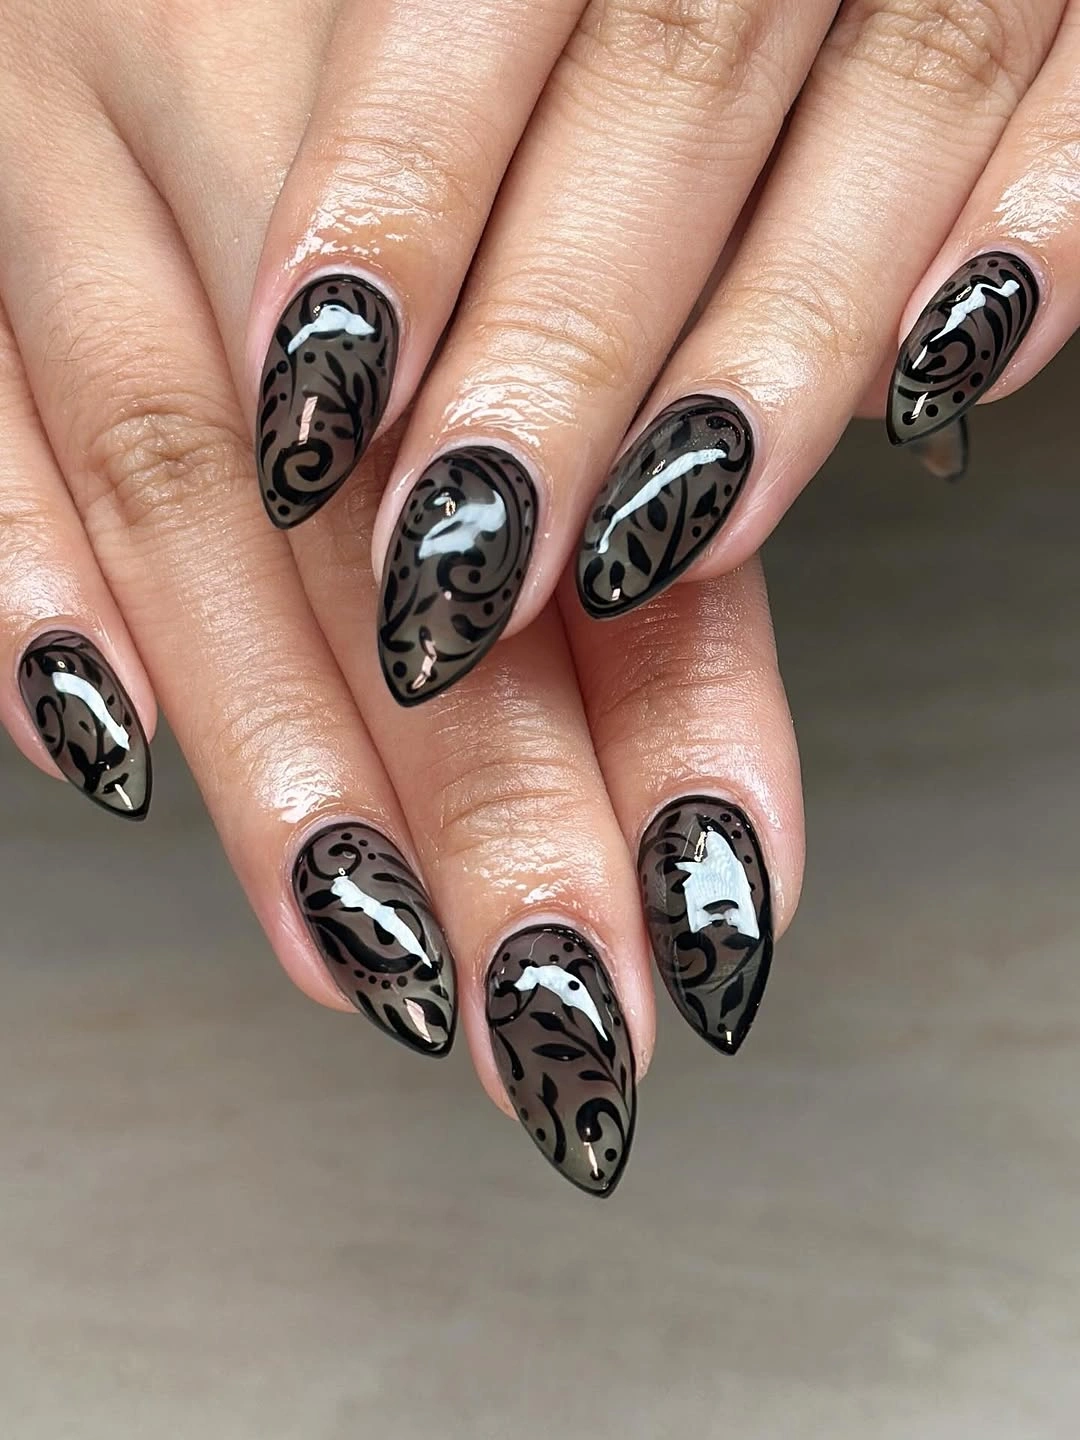
Glossy black almond nails become much softer when crossed with flowing white and gray marble-like lines. I like this combination because the dark base gives the pale swirls immediate contrast while the irregular curves prevent the manicure from looking rigid. The result feels dramatic without requiring additional colors.
The marble pattern does not need to cover every nail equally. I would leave one or two nails mostly black so the detailed swirls have room to stand out. If the contrast feels too intense, charcoal can replace pure black, but I would keep the flowing direction of the artwork because that movement is central to the design.
Pumpkin Accents With Black Graphic Tips
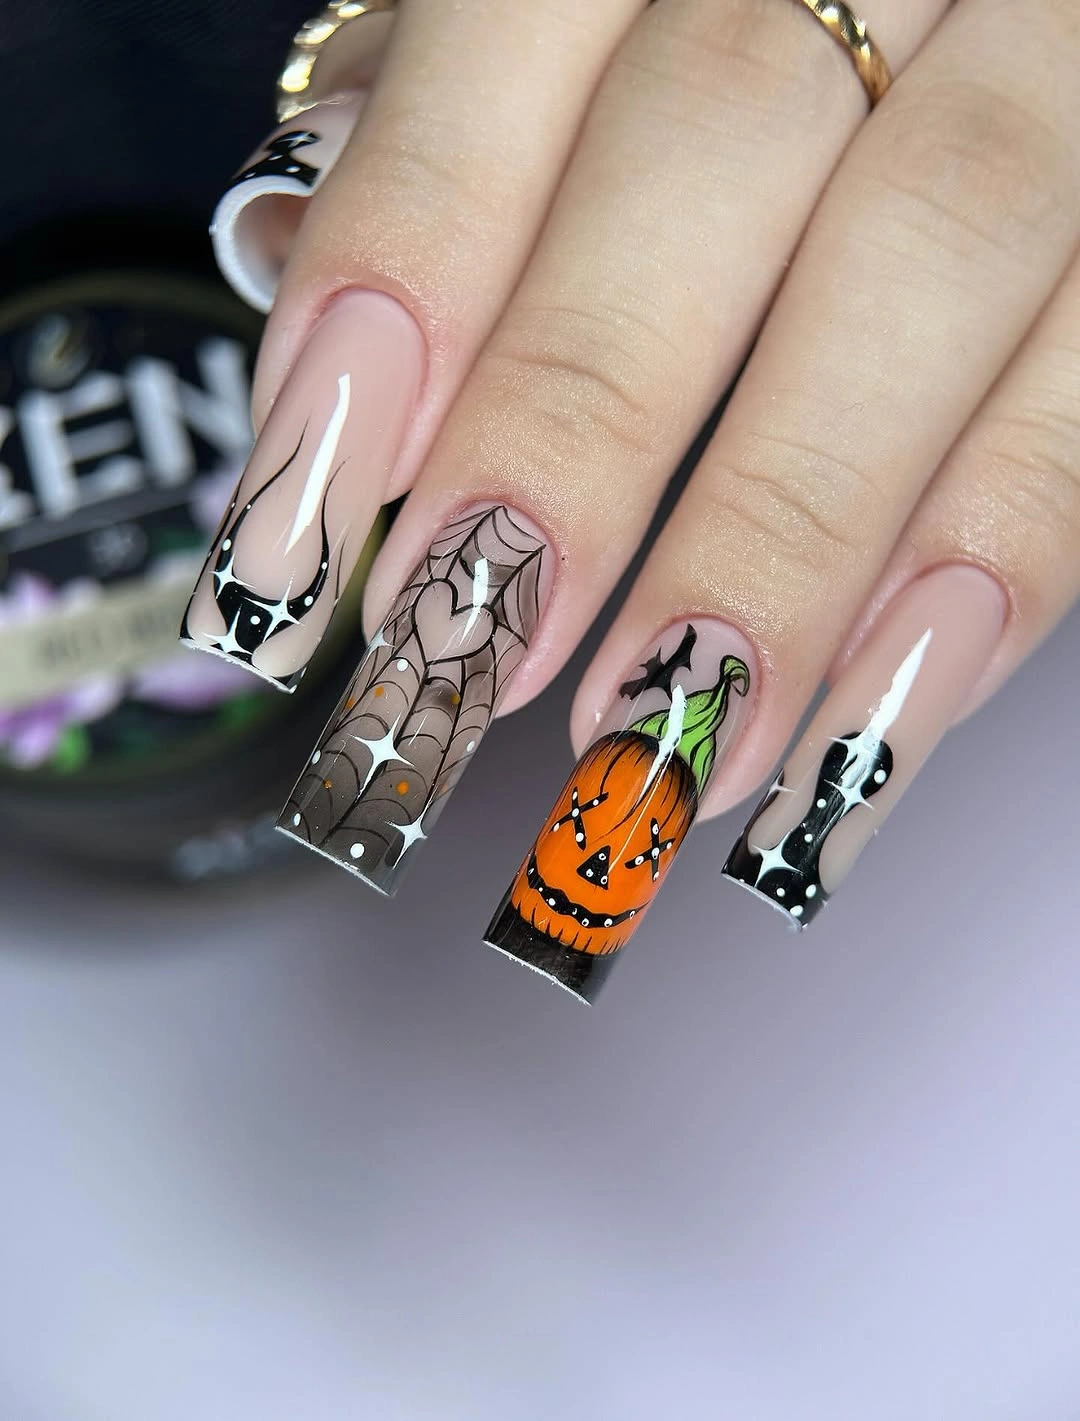
Nude and black sections provide a structured base for orange pumpkin faces, white web-inspired details, and dark graphic tips. I like repeating black throughout the manicure because it gives the smaller seasonal illustrations a consistent visual frame. The nude areas are equally important because they separate the different Halloween-inspired elements.
Long coffin nails offer plenty of space for detailed artwork, but I still prefer leaving some nails relatively simple. For a shorter version, I would select either a pumpkin or web accent and allow the black tips to carry the remaining nails. Reducing the number of motifs keeps each seasonal detail recognizable.
Orange Stiletto Nails Broken by Black
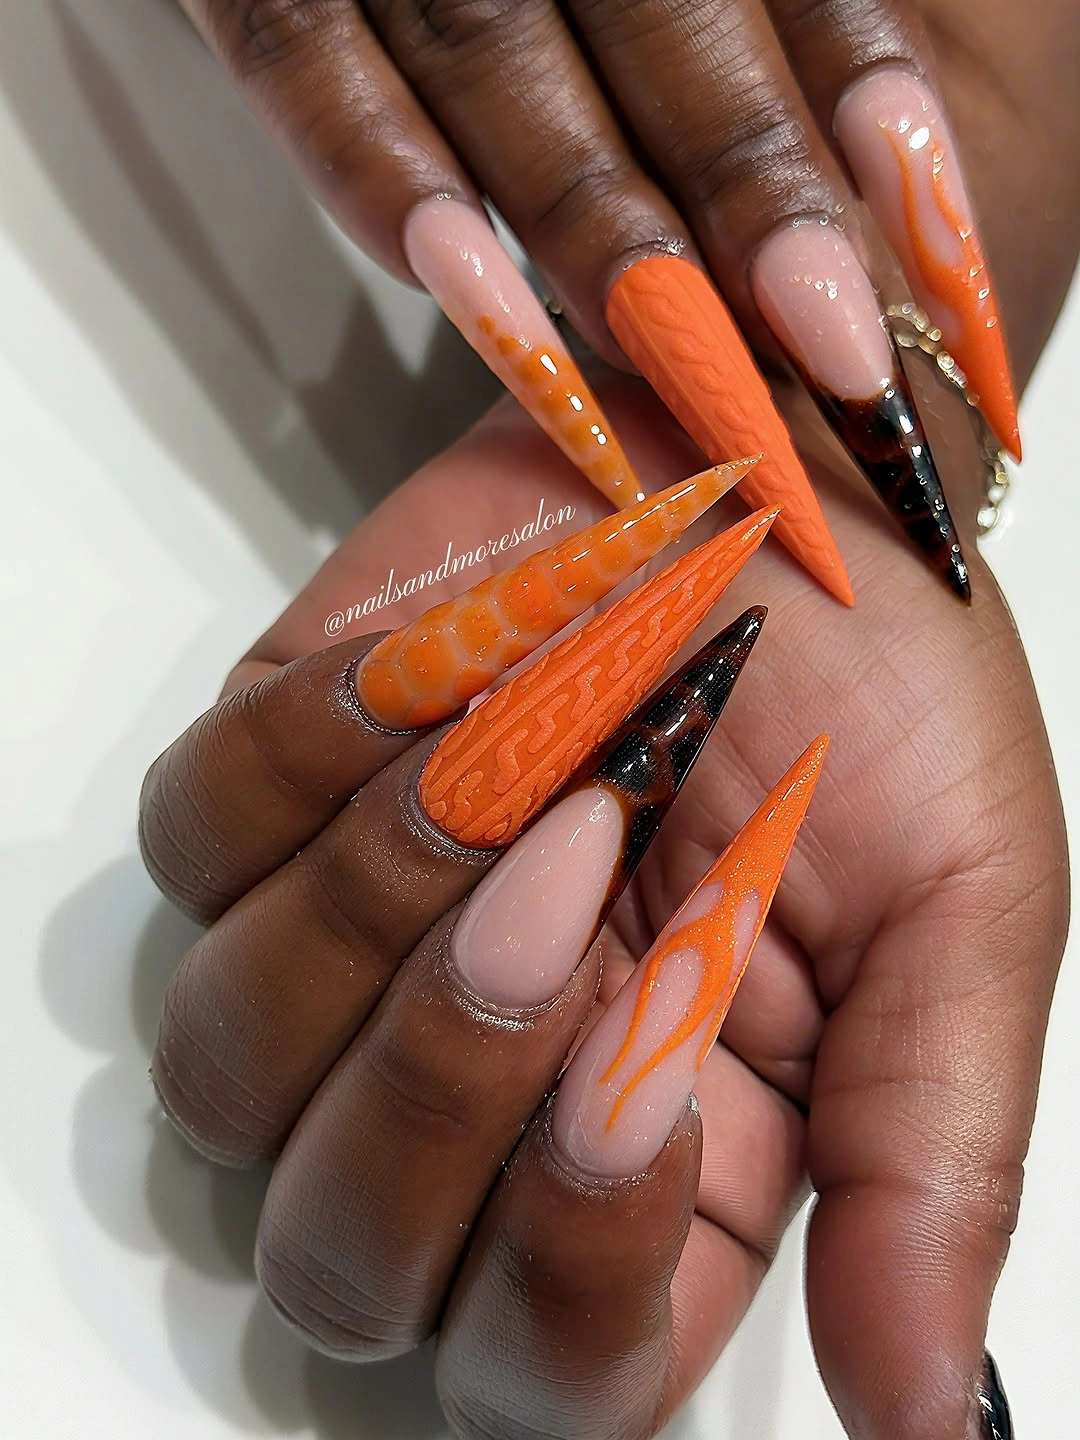
Bright orange, nude, and black create a dramatic combination on long stiletto nails. The pointed shape already has plenty of attitude, so I like breaking the orange with sharp black sections and flame-inspired lines rather than covering every nail completely. Nude areas provide an important visual pause between the stronger colors.
A diagonal black section can emphasize the length of a pointed nail while keeping the design visually balanced. For everyday wear, I would shorten the stiletto shape and use one orange accent with a black-edged nail rather than repeating every detail. The textured orange accent should remain limited because the saturated palette and pointed silhouette already provide plenty of impact.