
Pumpkin Halloween nail ideas can be much more creative than simply covering every nail in orange and black. I like designs where the pumpkin works as one carefully chosen detail alongside French tips, delicate lines, playful characters, or unexpected colors. Leaving some of the nail bare often makes the seasonal artwork look cleaner and more intentional.
After years of working with different manicure styles, I’ve found that the best Halloween sets begin with the nail length and shape rather than the artwork alone. Short nails benefit from small accents near the tip, while longer shapes give you more room for webs, characters, pumpkins, and graphic details. If you want the manicure to remain wearable after Halloween, I recommend mixing statement nails with quieter ones instead of decorating every surface equally.
Red French Curves With Tiny Pumpkins
A nude almond base becomes much more interesting when curved red French tips are combined with tiny orange pumpkins. I like adding a few small white ghosts or stars because they break up the stronger colors while keeping the manicure playful and unmistakably seasonal.
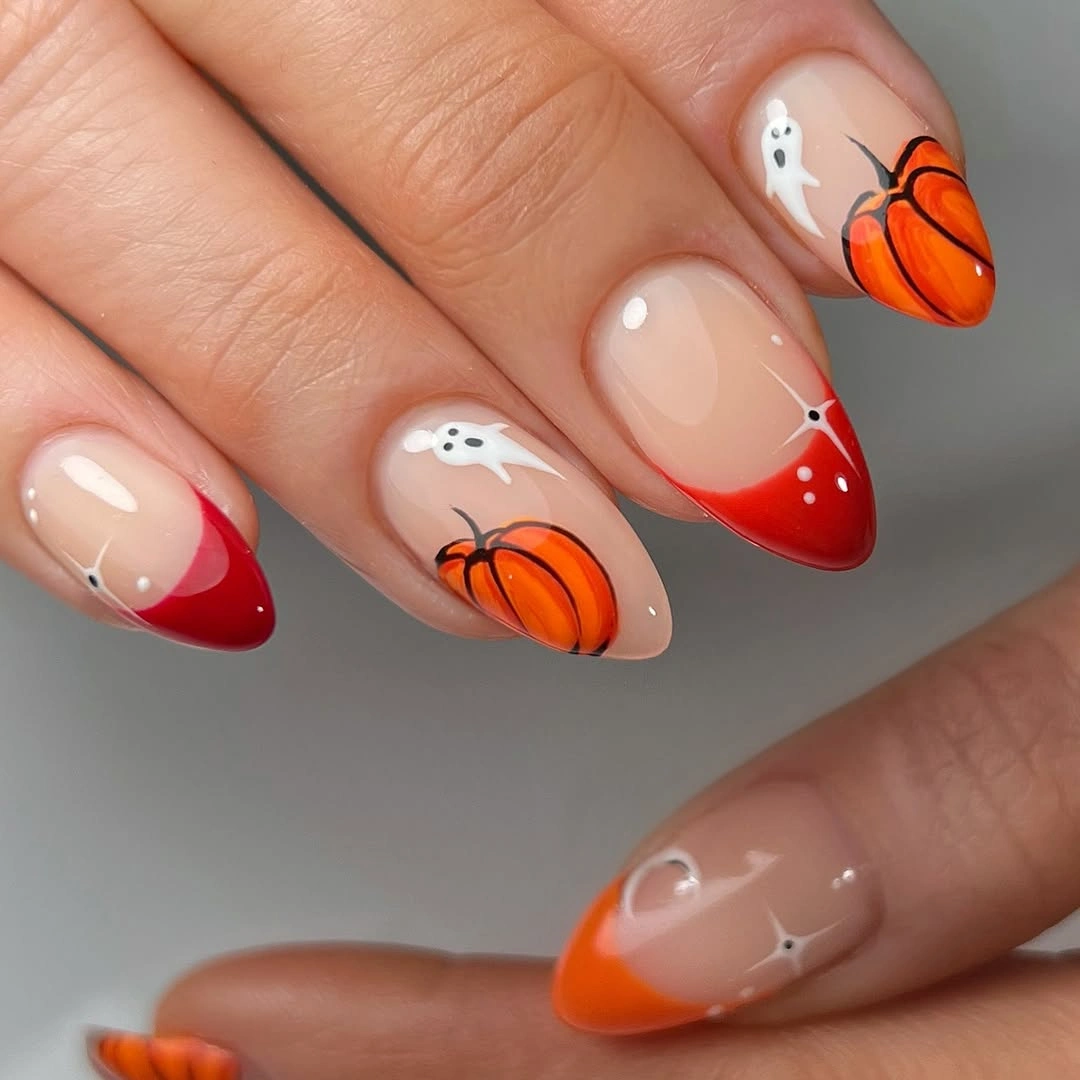
The key is giving every element enough room. Let the red curve remain the dominant feature, then use the pumpkins as small accents rather than filling the entire nail. A glossy nude finish underneath keeps the overall manicure bright and polished.
Medium almond nails work especially well for this arrangement because their tapered shape follows the movement of the curved French tips. For a simpler version, place the pumpkin on alternating nails and leave the remaining fingers with only the red edge or a tiny star.
Purple Webs Around White Ghosts
Purple spiderwebs offer a softer alternative to traditional black Halloween artwork. On a nude or lavender-toned base, white ghosts and tiny stars create a playful contrast without making the manicure feel overly dark or dramatic.
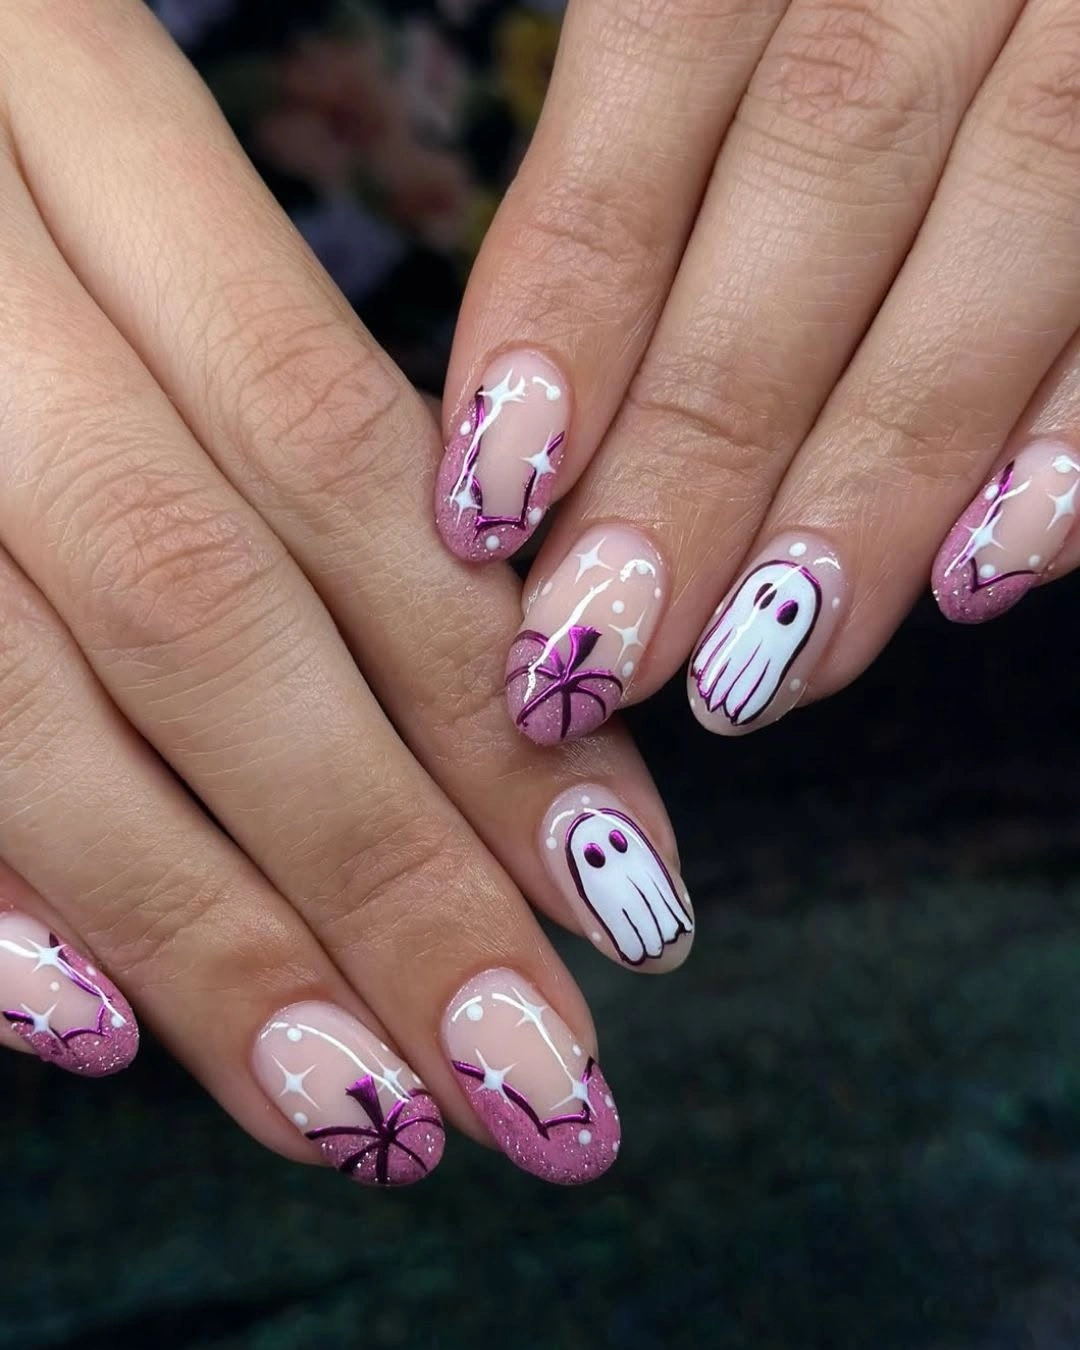
I recommend using purple mainly for the line work and allowing the nude background to remain visible. This gives the webs enough definition while making the ghost illustrations stand out. Keeping one motif larger than the others also creates a clear visual focal point.
Long square nails provide plenty of space for detailed web patterns, but the same concept can easily be shortened. On shorter nails, place a small web in one corner and simplify the ghost to a clean white silhouette.
Black Cats and High-Contrast Icon Mix
Black cat faces, pumpkins, ghosts, and spiderwebs create a fun Halloween collection when each motif has a strong background contrast. I like alternating dark and pale nails so black illustrations remain crisp while white and orange details stand out against darker surfaces.
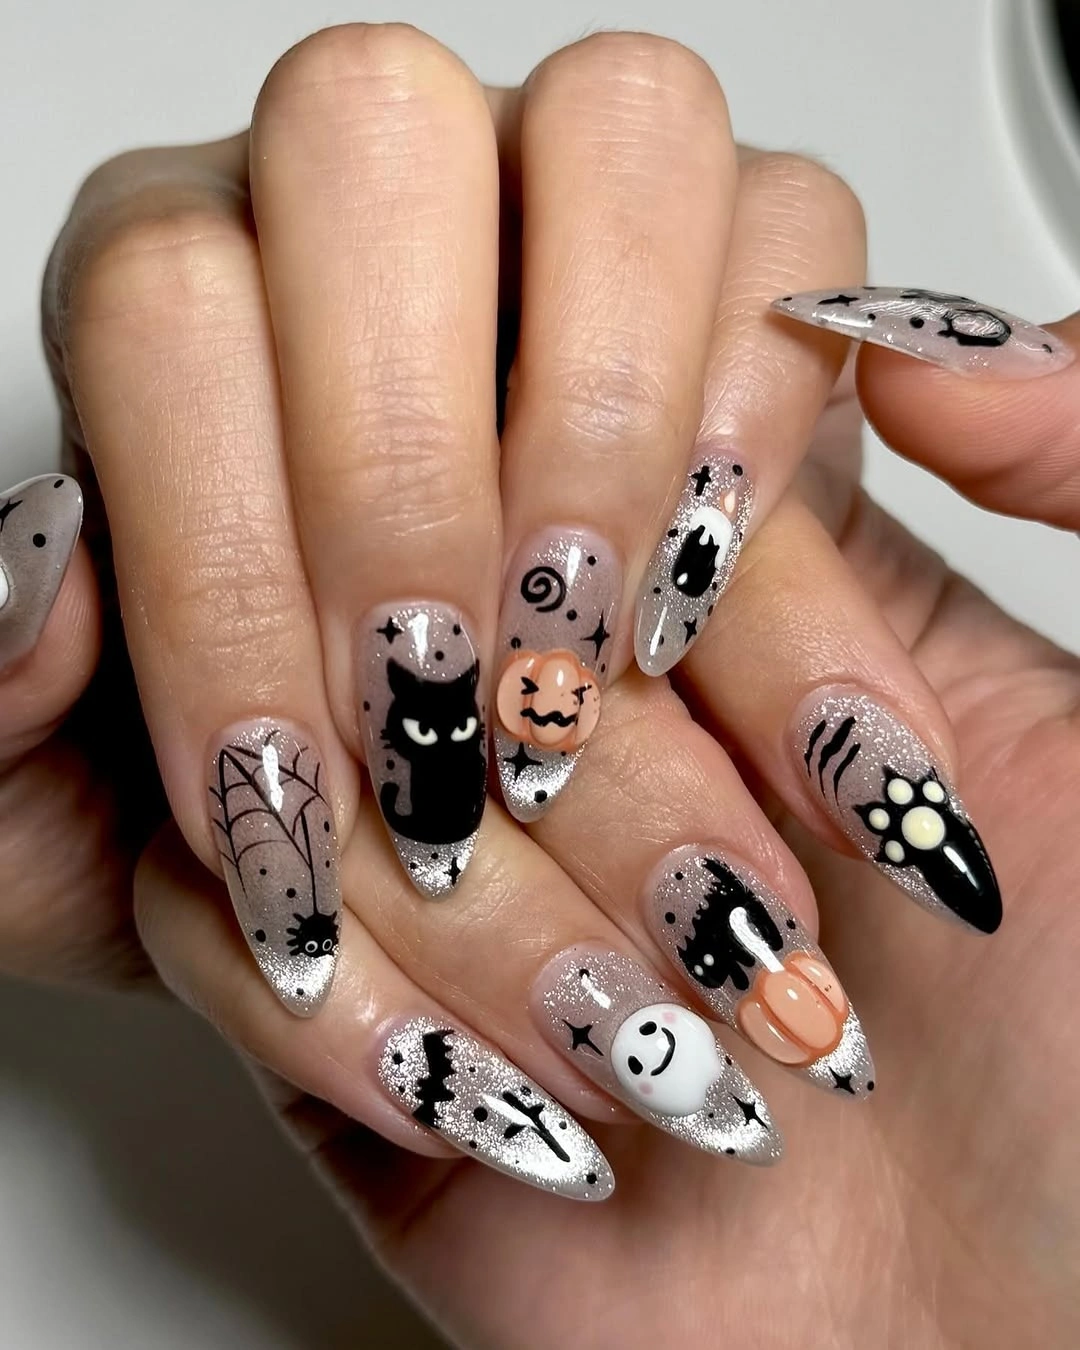
A mixed-icon manicure needs some consistency to prevent it from becoming visually chaotic. I would keep black, white, and orange as the main palette and use each color for a specific purpose. This allows several different Halloween symbols to work together without competing.
Pointed nails give the graphic artwork a dramatic appearance, but a medium almond shape can make the design more practical. On shorter nails, focus on the cat and pumpkin and replace complicated webs with one or two simple curved lines.
Clear Space With Black Web Tips
Sheer nude nails with black spiderweb tips create a sophisticated Halloween manicure without covering the entire nail in dark artwork. I like treating the web as a French-tip detail, allowing the center of the nail to remain clean and translucent.
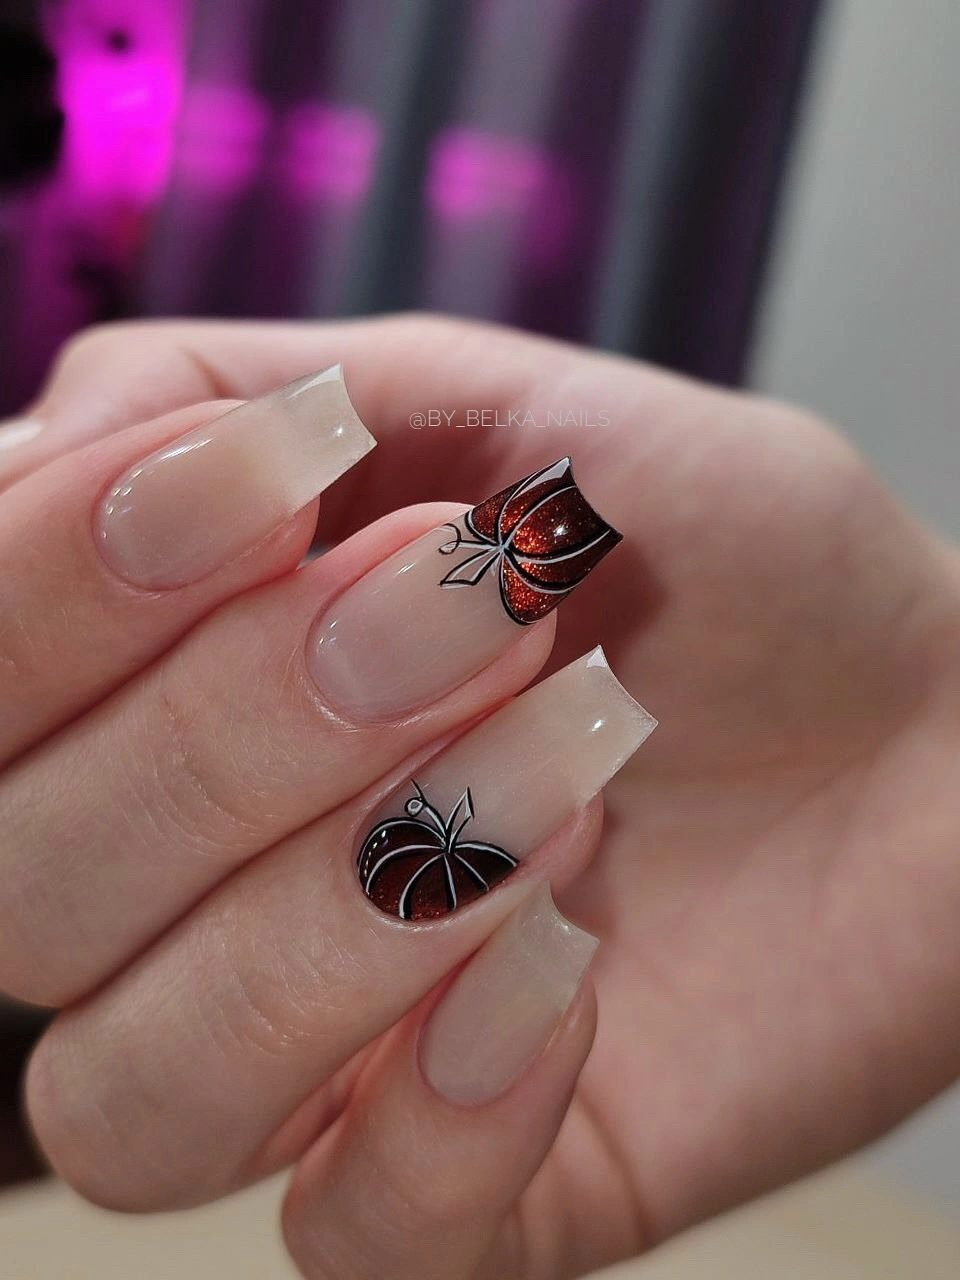
The strongest version uses fine black lines rather than thick webbing. One nail can carry a darker accent while the others stay light and airy. This gives the manicure contrast while preserving the negative space that makes the design feel modern.
Long square nails provide a generous canvas for the web tips, but the idea works just as well on medium square nails. Simply reduce the web to one corner and keep the black edge narrow for an easier everyday version.
Quiet Gold Lines on Short Nude Nails
Short rounded nails can look festive without relying on bold Halloween colors. I love the combination of a soft nude base with fine gold lines, tiny white details, and subtle green accents because it feels seasonal while remaining understated.
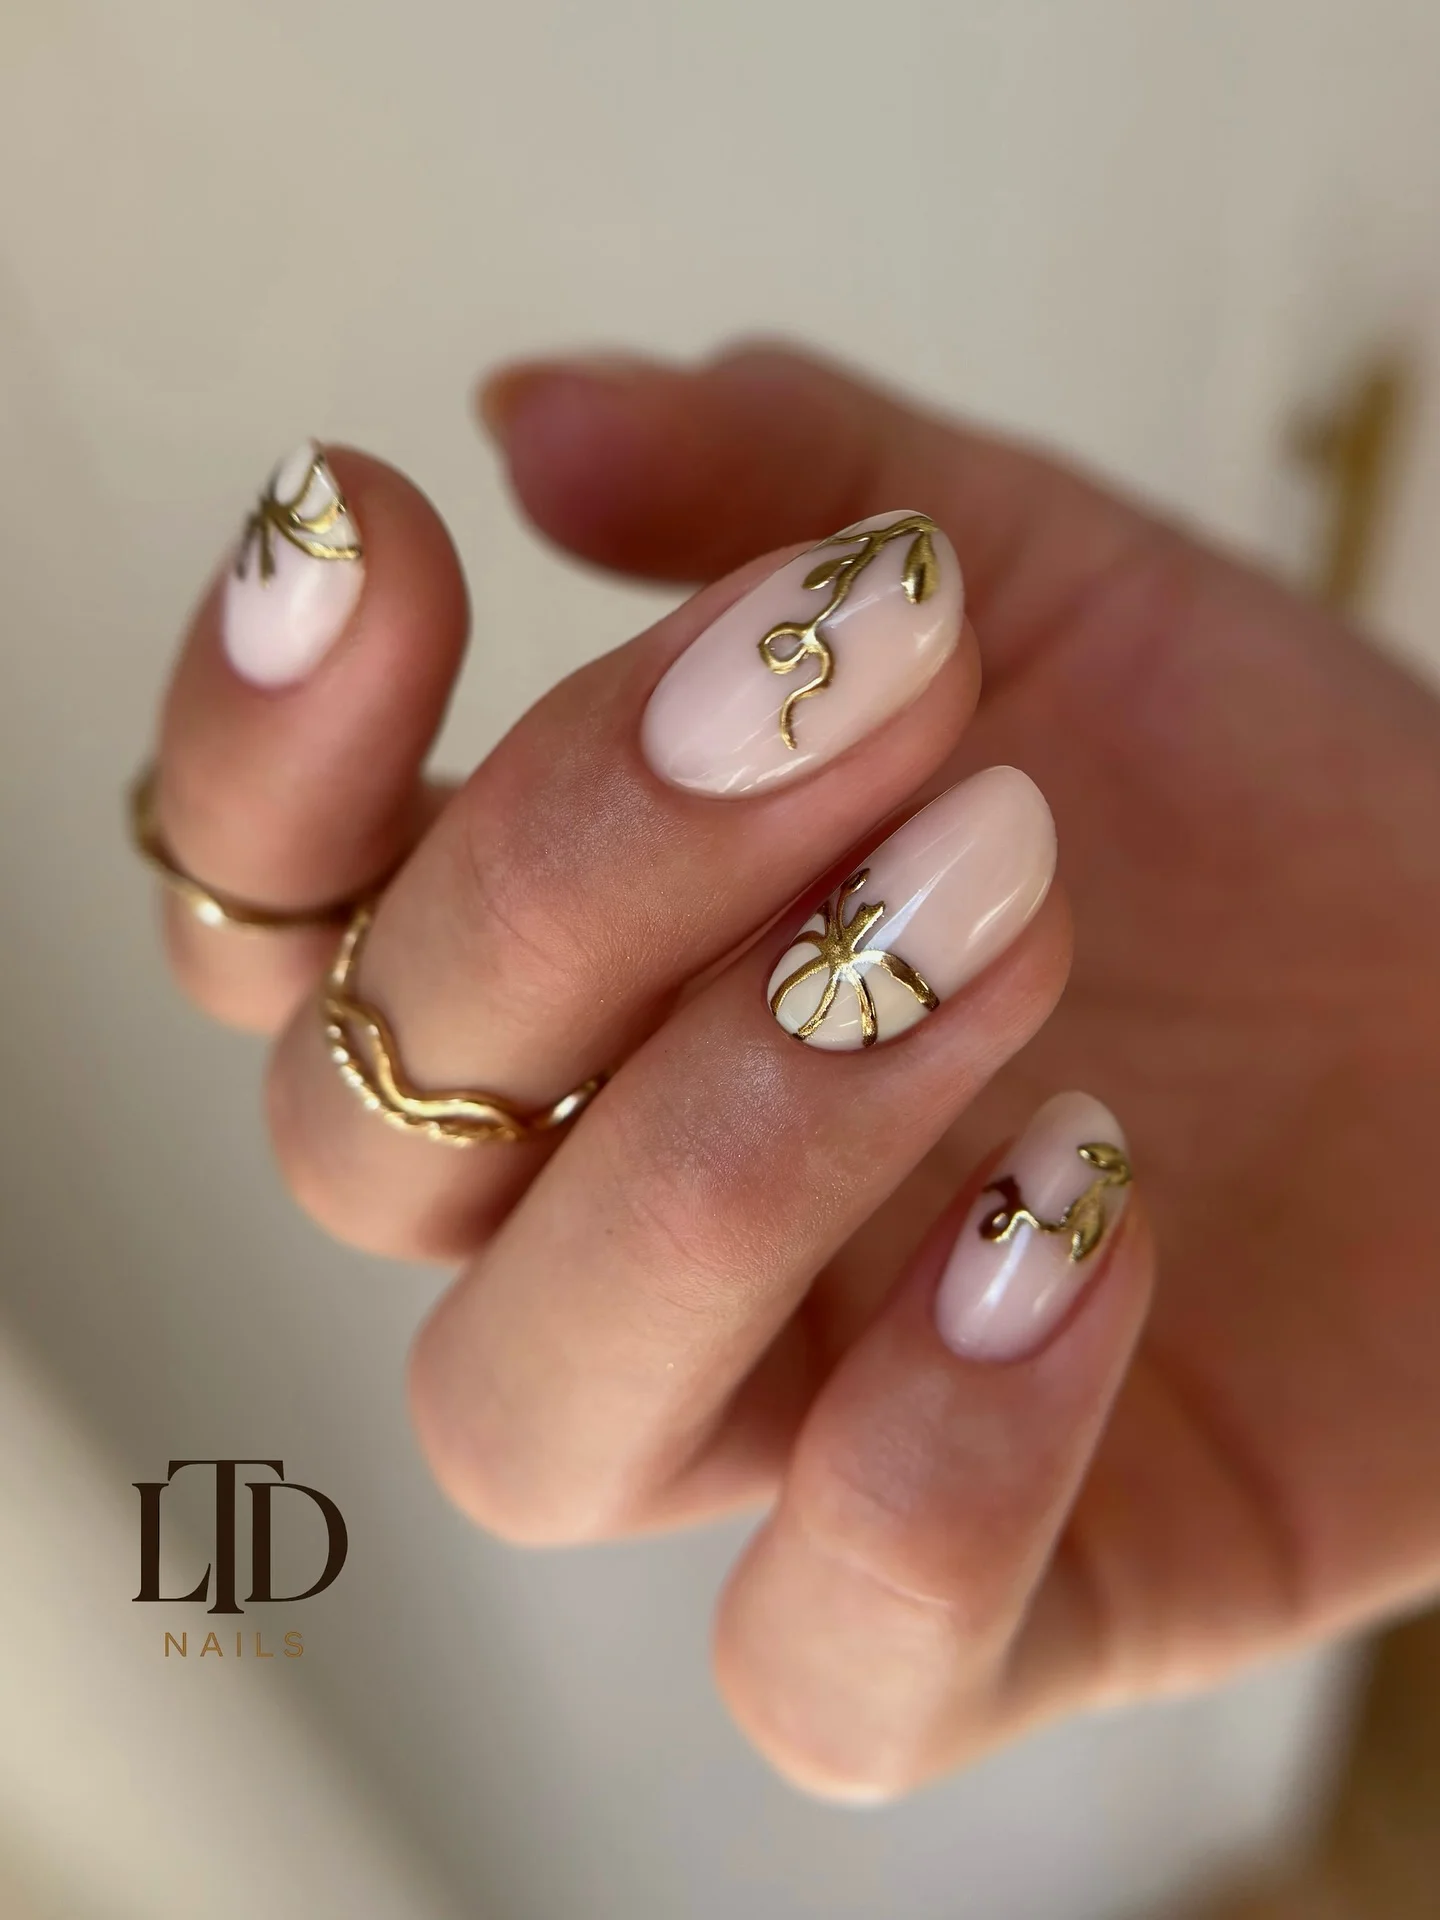
With a short nail, empty space is part of the design. Rather than trying to fit a large pumpkin onto every finger, use one small seasonal symbol and let the delicate gold detail carry the rest of the manicure.
Keep most of the artwork away from the cuticle so the manicure grows out neatly. A small black spider, orange dot, or miniature pumpkin can easily replace the green detail if you want a slightly stronger Halloween reference.
Black Cat Faces on Milky Almond Nails
Milky white almond nails create an excellent background for simple black cat faces. I like adding one or two tiny orange pumpkins because they introduce warmth without overwhelming the clean base.
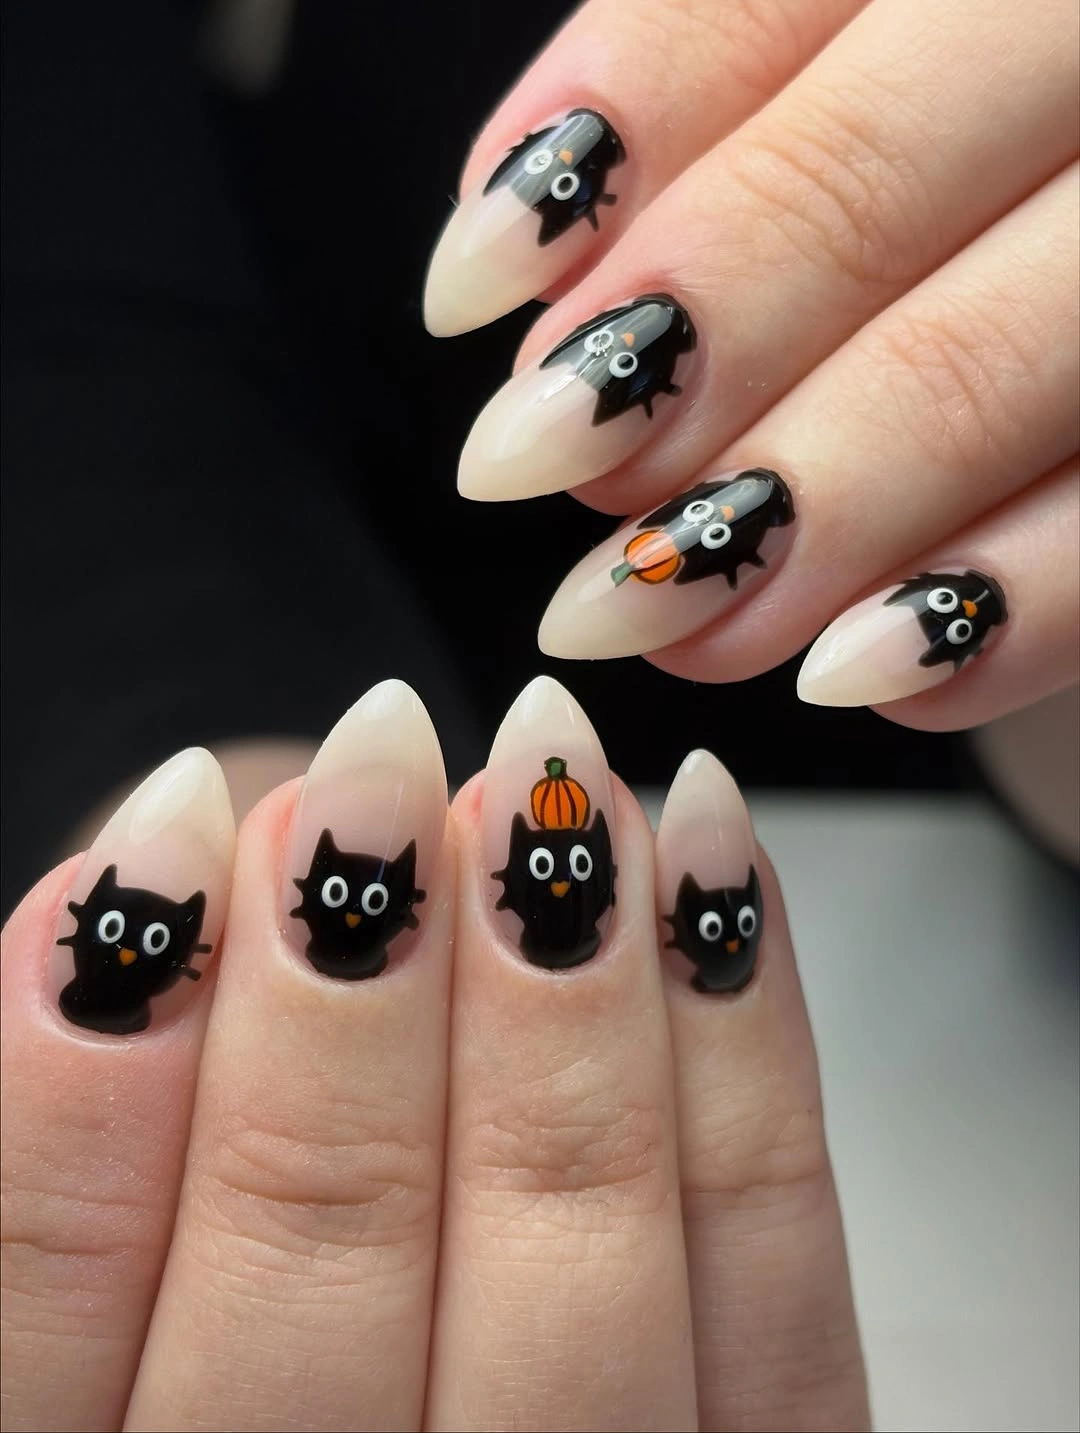
The repeated cat motif gives the manicure a clear theme, while the pumpkin becomes an accent rather than another major design. Simple ears, eyes, and facial lines are enough to make the characters recognizable without requiring complicated artwork.
A medium almond length provides enough room for the faces while remaining comfortable for everyday wear. For an even cleaner look, leave a couple of nails completely milky white and reserve the pumpkin for one accent finger.
Vertical Gold Frames Around Orange Pumpkins
Thin gold-toned vertical lines can frame orange pumpkin illustrations beautifully on a nude base. I like this approach because the lines add length and structure while the pumpkin remains the obvious seasonal feature.
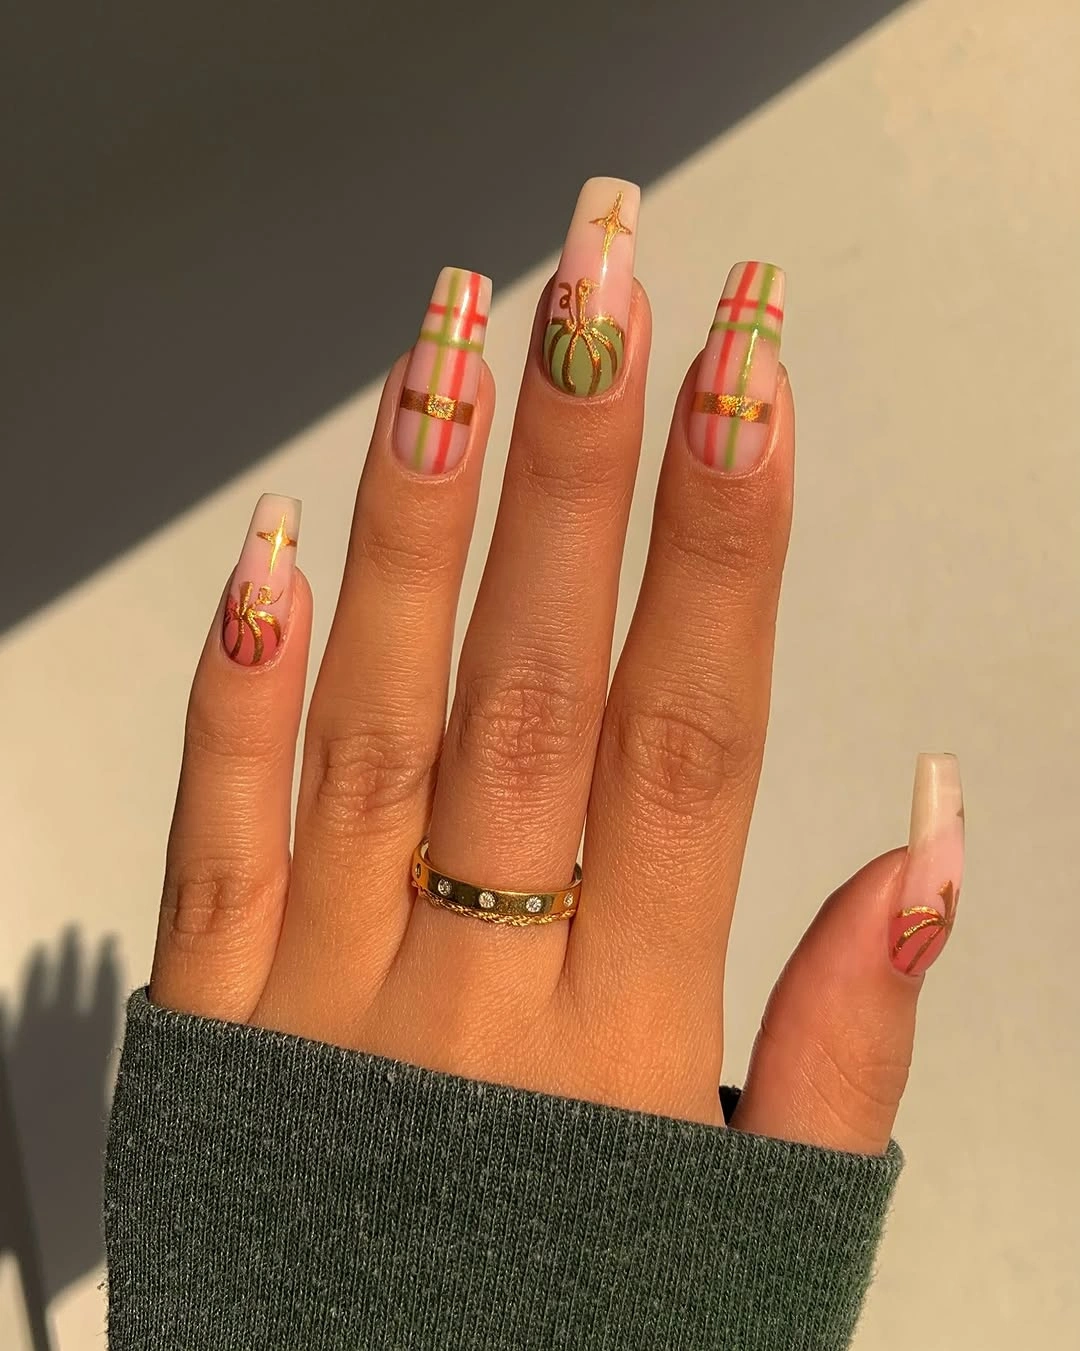
On longer nails, place the pumpkin slightly away from the center and use the stripe to guide the eye vertically. The remaining nails can repeat the line without carrying another illustration, which keeps the manicure cohesive.
Avoid using too many parallel stripes because they can make the design feel rigid. A single narrow line is often enough on shorter nails, especially when paired with one small orange pumpkin.
Mini Pumpkins Along a Colorful Short Tip
Small pumpkins and Halloween faces can be tucked into colorful French tips for a cheerful short-nail design. I like using shades such as blue, pink, green, and orange at the free edge while keeping the center of the nail sheer or nude.
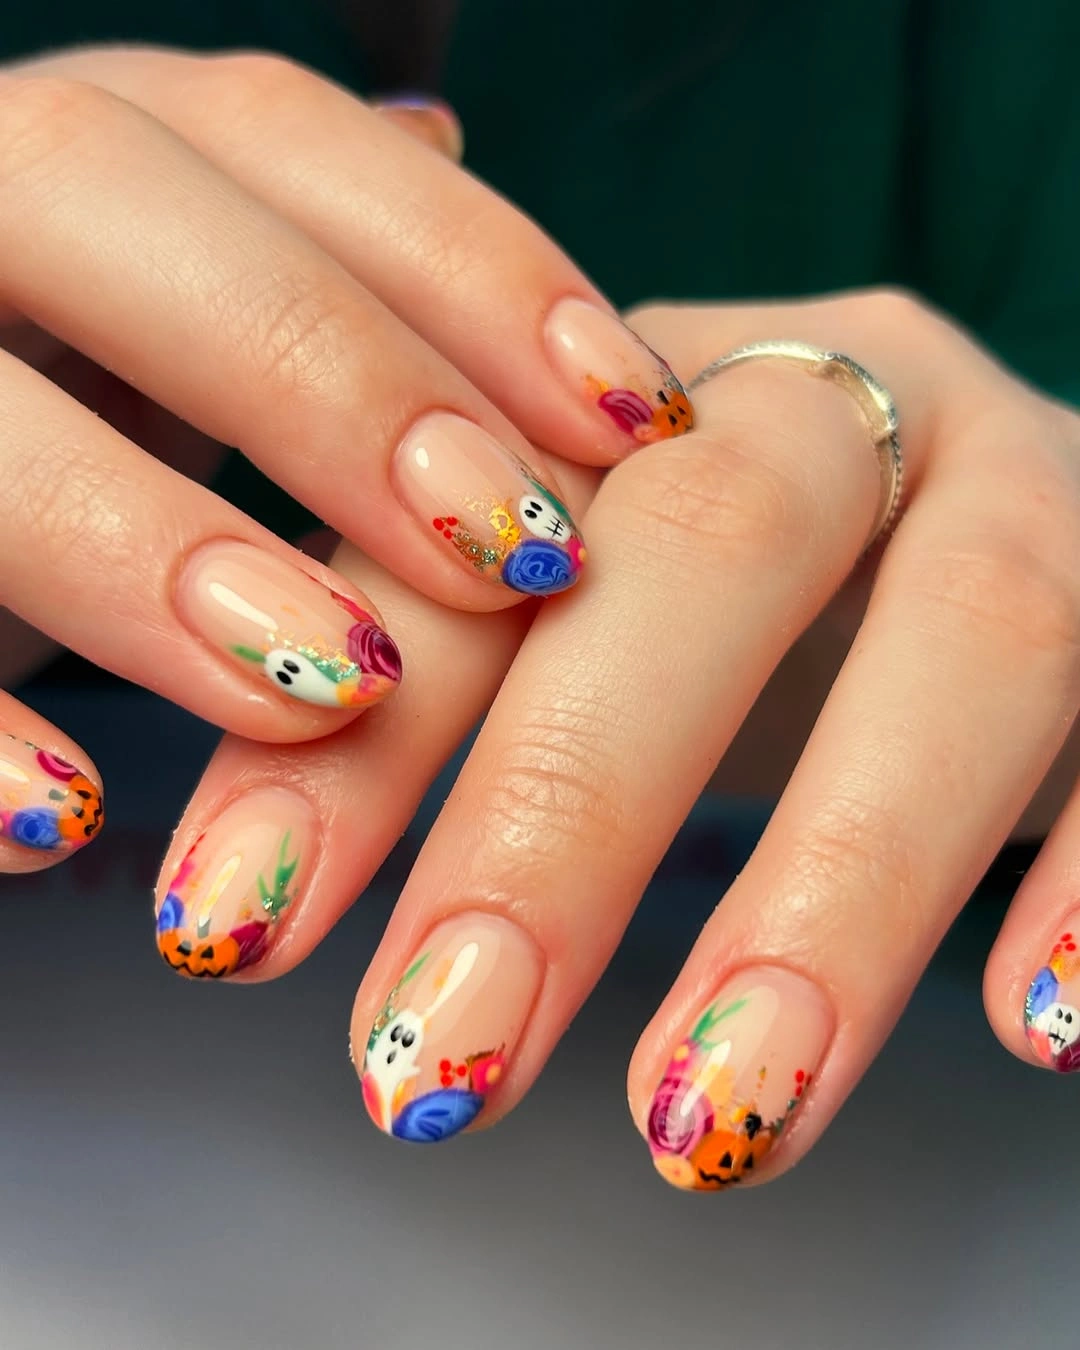
This placement keeps the artwork away from the cuticle and gives the manicure plenty of breathing room. Instead of decorating every tip equally, use detailed pumpkins on a few nails and simple colored curves on the others.
Short rounded nails are especially suited to this style because the curved edge naturally frames the tiny designs. Keep the miniature illustrations simple enough to remain recognizable without relying on close-up viewing.
Blue Tips With Tiny Halloween Faces
Blue French tips create a cool contrast against warm orange pumpkins and small colorful Halloween characters. I like the unexpected color combination because it gives traditional seasonal motifs a fresher and more playful appearance.
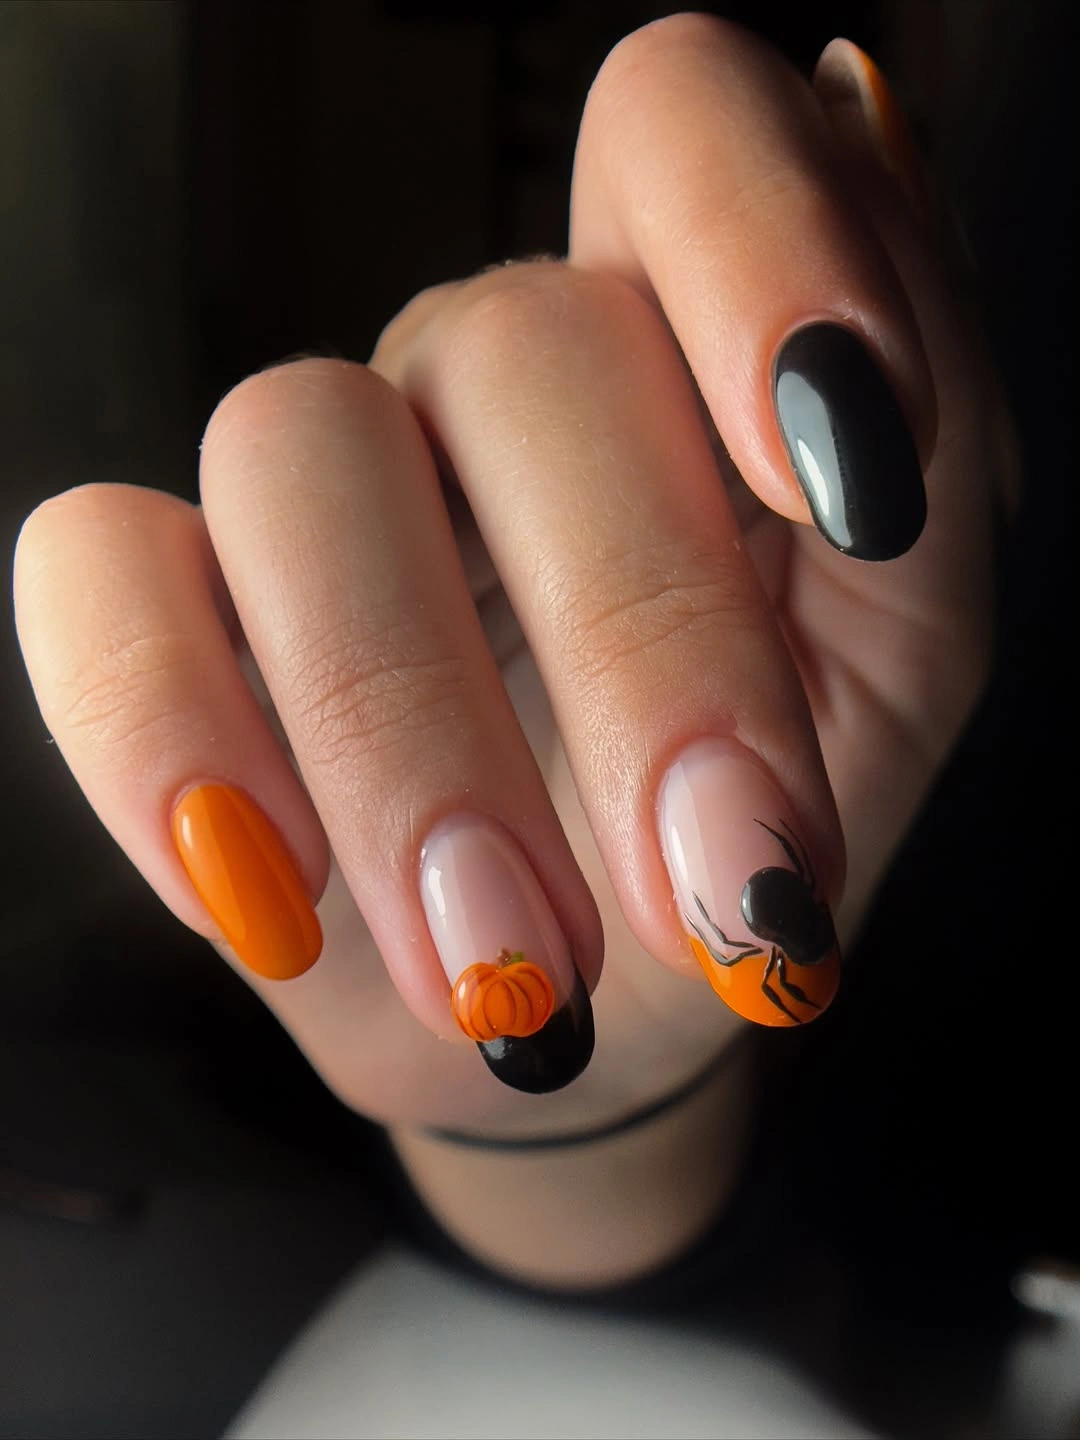
Keep blue as the strongest supporting color and use pink or green only for tiny details. The nude base should remain visible so the different accents do not blend into one crowded pattern.
For short nails, broad shapes work better than complicated drawings. A small pumpkin, a pair of eyes, or a tiny face can communicate the theme more clearly than a detailed character squeezed into limited space.
Graphic Black and Orange Curves
Black and orange curved blocks create a bold foundation for small pumpkin faces on medium almond nails. I like using different placements on each finger so the manicure has movement rather than looking like the same pattern has been copied across every nail.
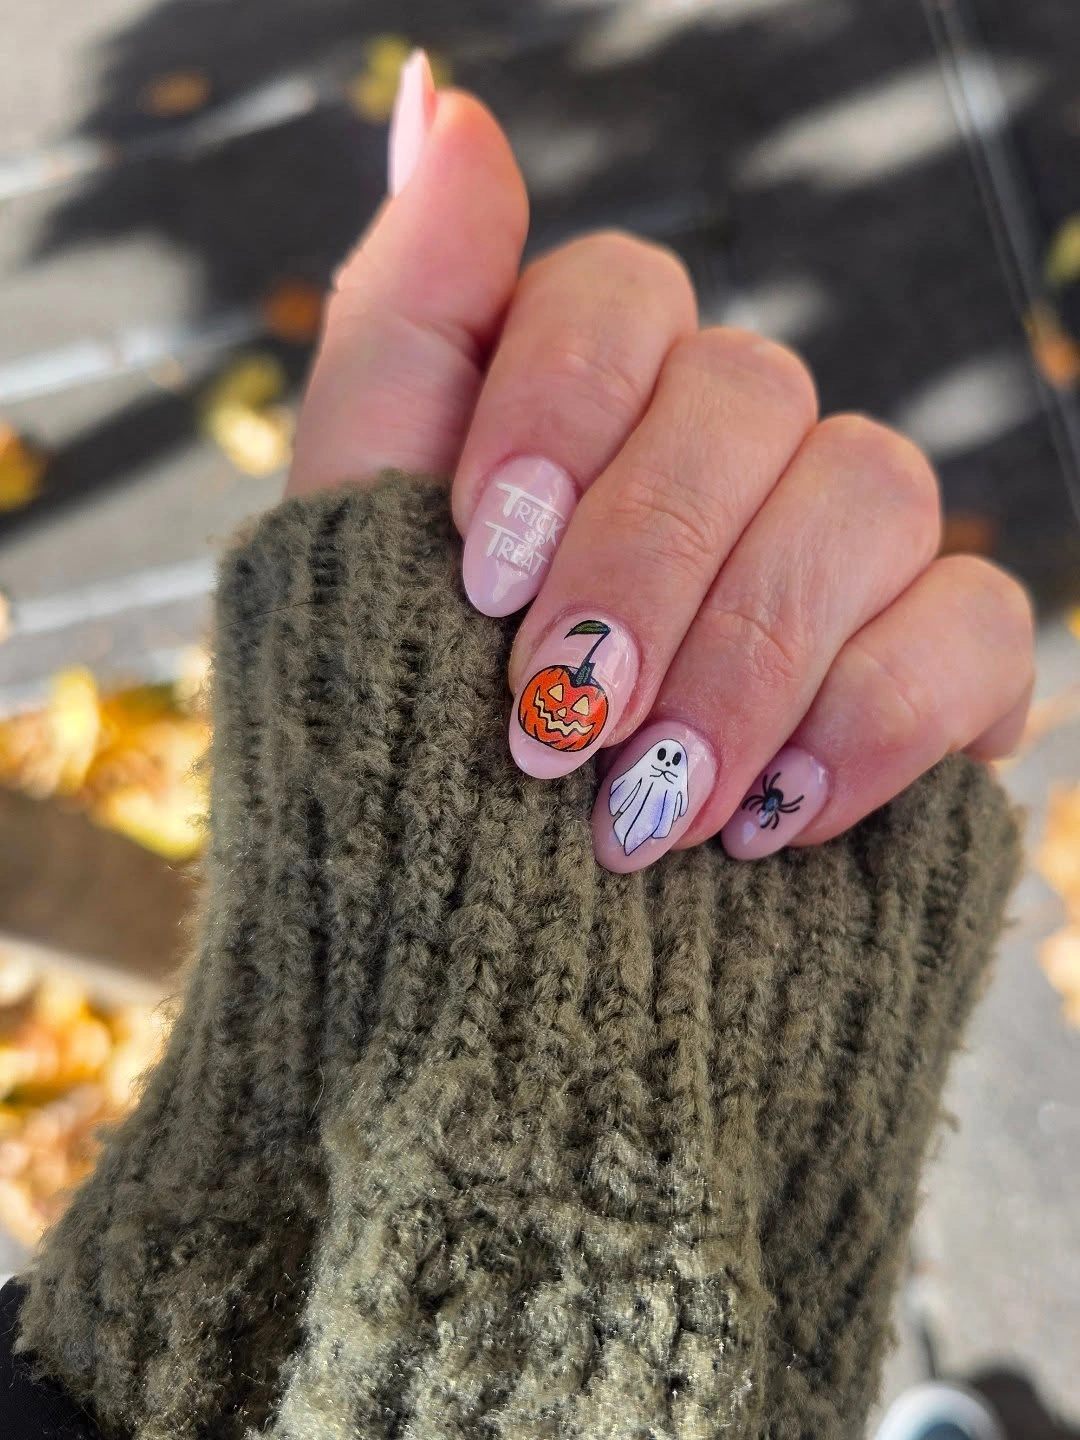
Start with the larger color curves before adding the smaller illustrations. The geometry gives the pumpkins a visual home and creates a stronger composition than placing every seasonal symbol directly onto a blank nude base.
Medium almond nails allow the curves to follow the shape naturally. For shorter nails, simplify each design to one black or orange section and leave a portion of the nude base exposed to maintain contrast.
Gray Webs With Ghost and Pumpkin Mix
Gray provides a softer background for a Halloween manicure filled with ghosts, pumpkins, webs, and orange accents. I like this neutral because it allows both black outlines and white illustrations to remain visible without creating the intensity of an all-black manicure.
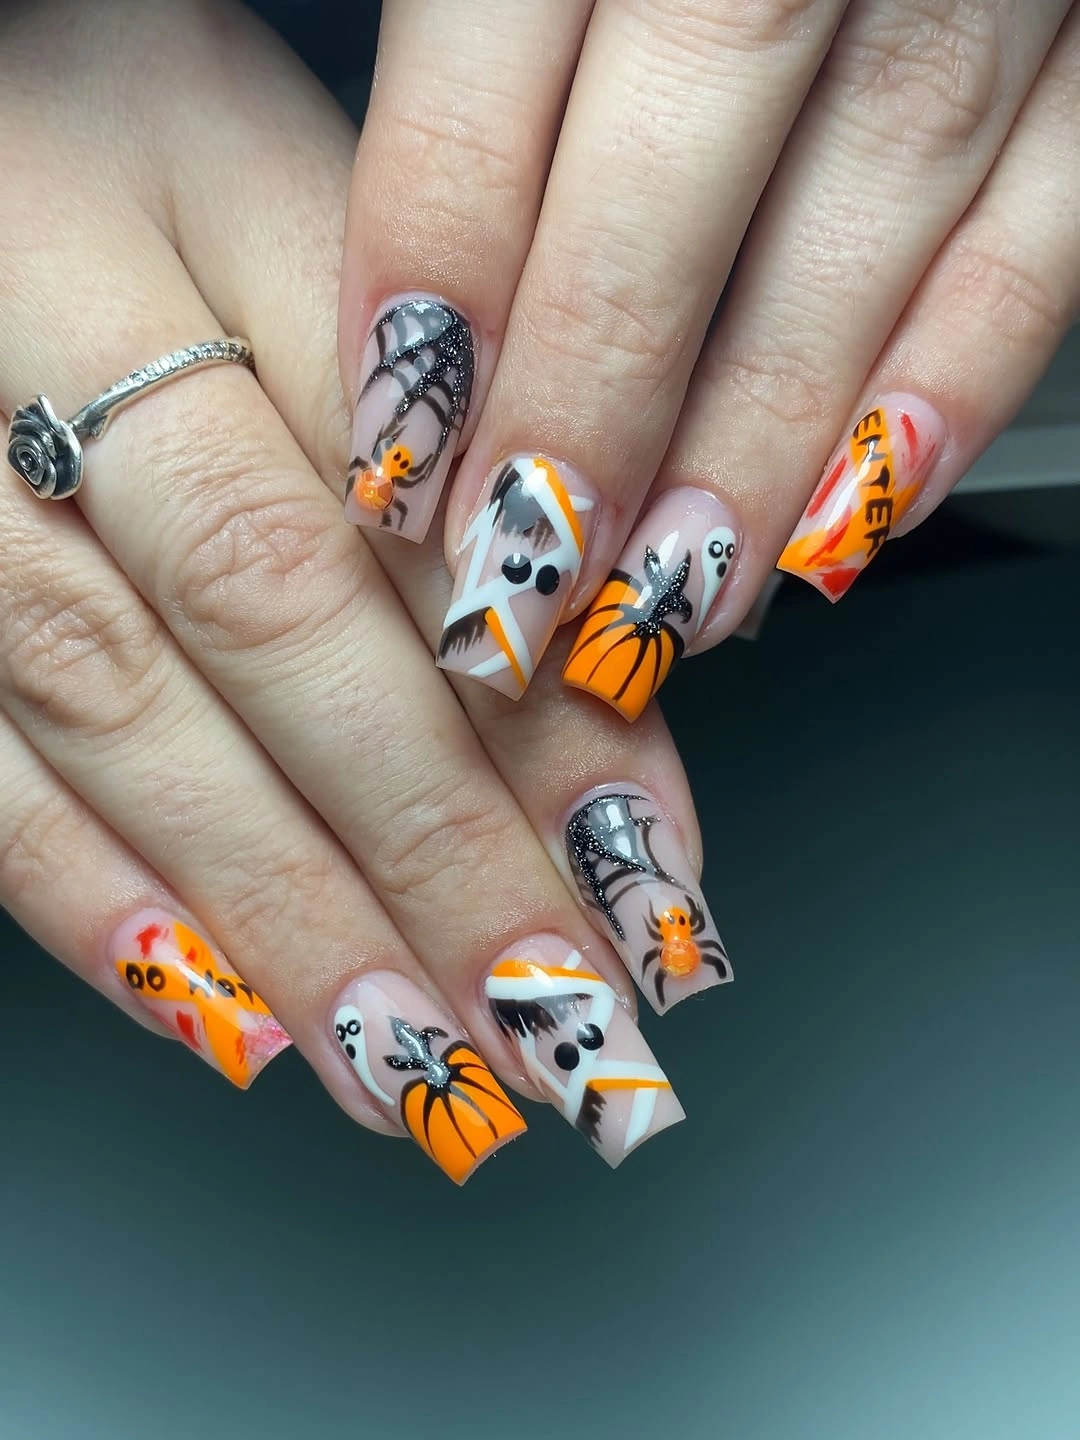
Give each nail a different role instead of repeating the same scene. One finger can focus on the web, another on a ghost, and another on a pumpkin. The muted gray base connects everything into one coordinated set.
Medium square nails offer enough room for these graphic motifs, while a shorter version should use fewer details. A single web corner paired with one larger ghost or pumpkin will usually look cleaner than several tiny drawings.
Tattoo-Like Symbols on Nude Almond Nails
A nude almond base can turn a collection of Halloween symbols into something that resembles miniature tattoo artwork. Spiders, potion bottles, cat eyes, lips, and other small illustrations can each have their own nail while black outlines tie the set together.
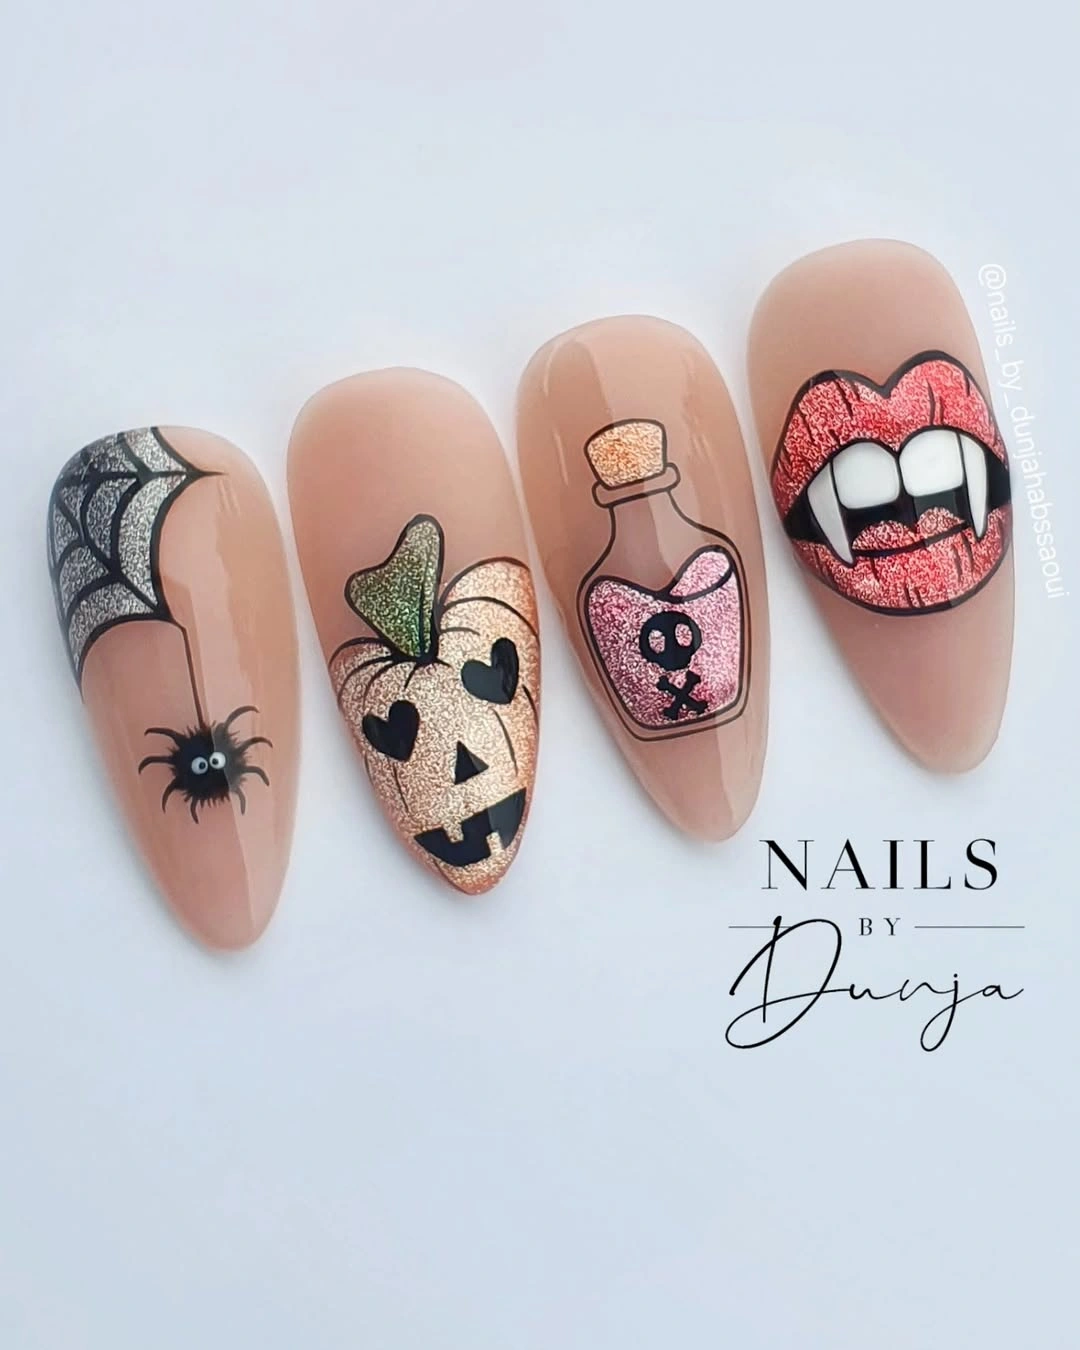
I like keeping the background quiet when using several different symbols. The nude surface acts as negative space, allowing each illustration to remain separate rather than blending into the next one.
Long almond nails provide enough vertical room for detailed drawings, but shorter nails benefit from selecting only a few icons. A spider, potion bottle, and cat eye are enough to create a complete theme without overcrowding the manicure.
Black Drips and One Tiny Orange Bow
Black drip tips create a dramatic Halloween edge while leaving plenty of nude space underneath. I like adding one small orange pumpkin and a delicate web because the lighter accents stand out much more strongly against the clean background.
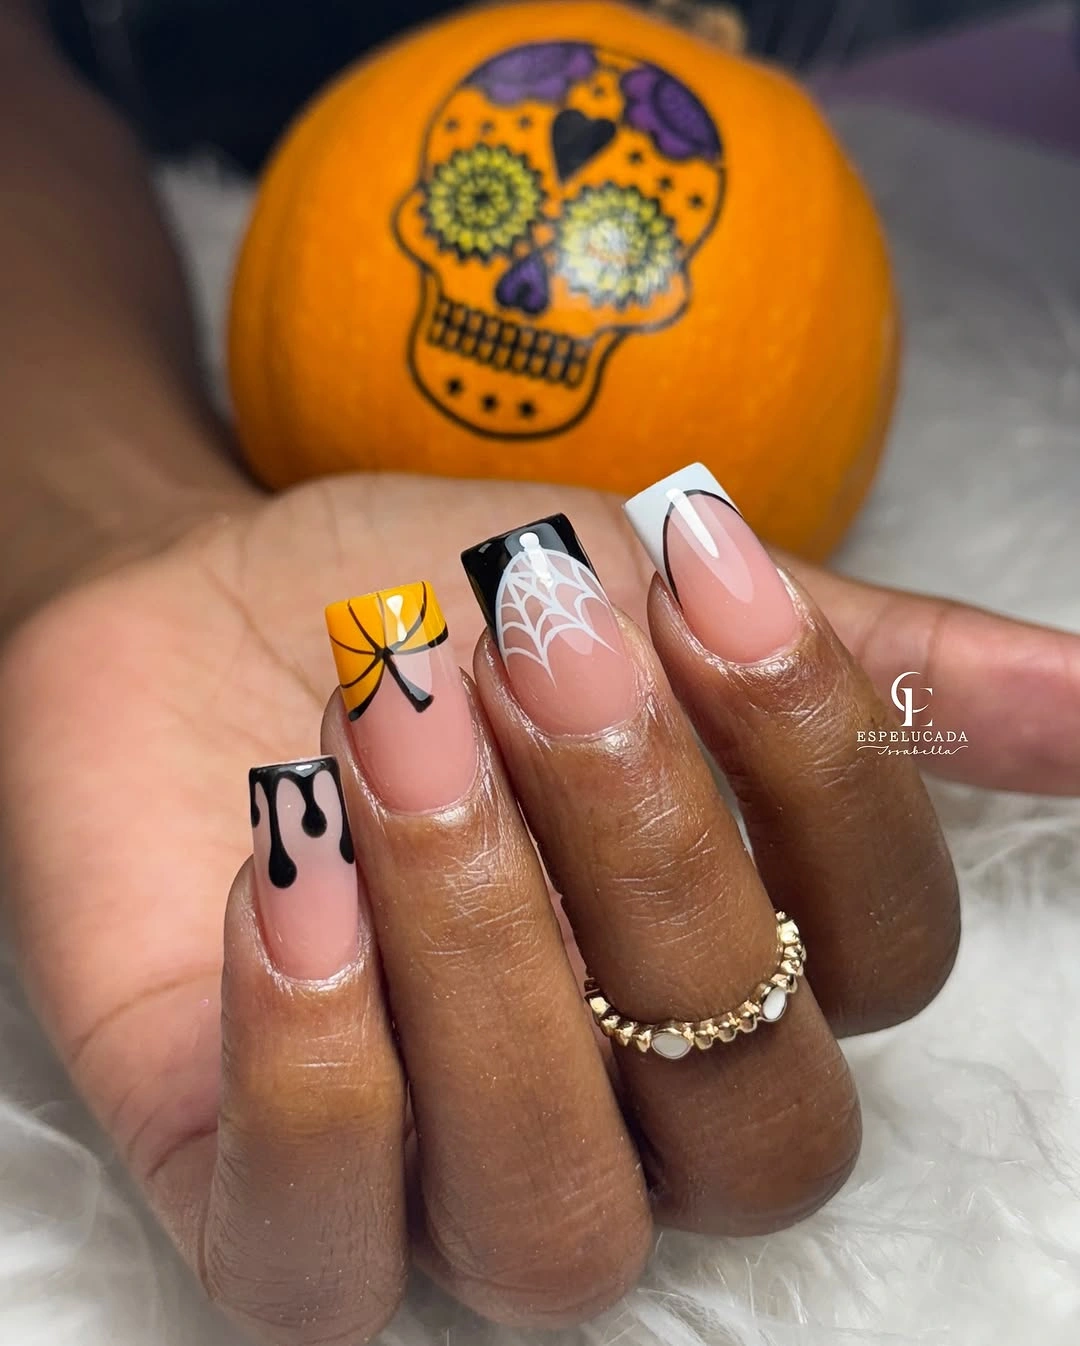
The black drip should remain the heaviest element, while the pumpkin and web act as supporting details. A small bow adds an unexpected feminine touch and keeps the manicure from looking like a standard Halloween set.
Long square nails make the dripping edge especially noticeable, but medium square or coffin shapes can carry the same idea. Shorten the drips and keep the bow or pumpkin on just one accent nail for a more practical version.
Playful Pink Spiders on Short Oval Nails
Pink creates a cheerful base for black spiders and fine web details. I like this combination because it keeps the Halloween theme recognizable while replacing the usual dark background with something softer and more playful.
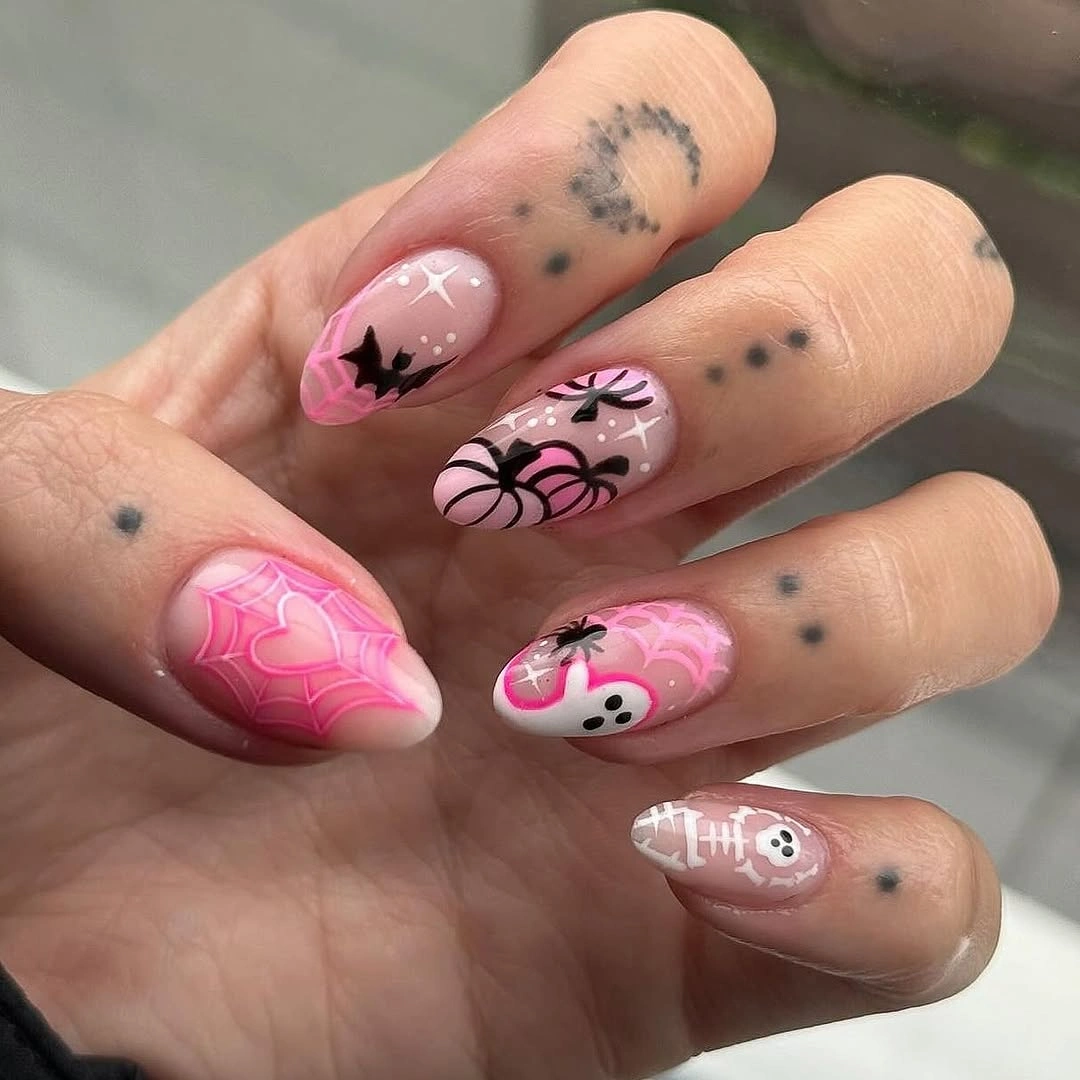
The black artwork should stay delicate so the pink remains the dominant color. A tiny spider, partial web, dots, or one miniature white face can be enough to create interest without covering the entire nail.
Short oval nails naturally soften the graphic lines and make the design easy to wear. If you want an extra seasonal touch, add one tiny orange pumpkin or dot rather than introducing another large illustration.
Graphic Skull Faces With a Small Orange Accent
Black-and-white skull-inspired faces look especially crisp against a warm nude almond base. A few web lines and a tiny orange detail can bring the manicure firmly into Halloween territory without requiring a full orange-and-black color scheme.
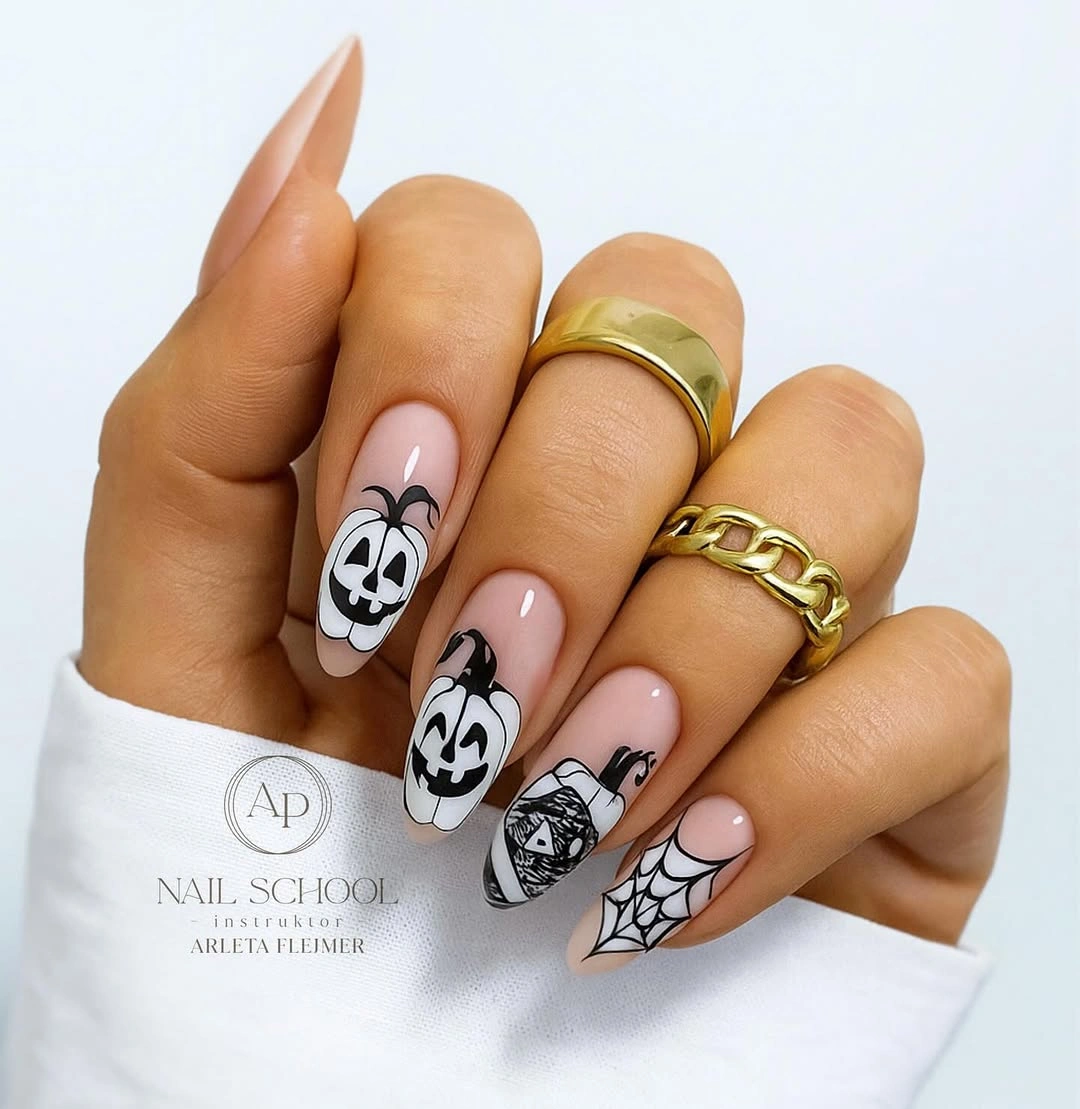
I prefer using orange sparingly here. One small pumpkin-like accent or orange detail gives the darker artwork a seasonal connection while allowing the black-and-white illustrations to remain the main focus.
Medium almond nails give character faces enough space to stay readable. If you shorten the manicure, keep one skull face and one web as the main features and leave the remaining nails mostly nude.
Botanical Vines Around Sheer Orange Pumpkins
Orange pumpkins paired with delicate green vines create a botanical interpretation of Halloween nail art. I like this direction because the design feels seasonal without relying on heavy black outlines or dramatic dark backgrounds.
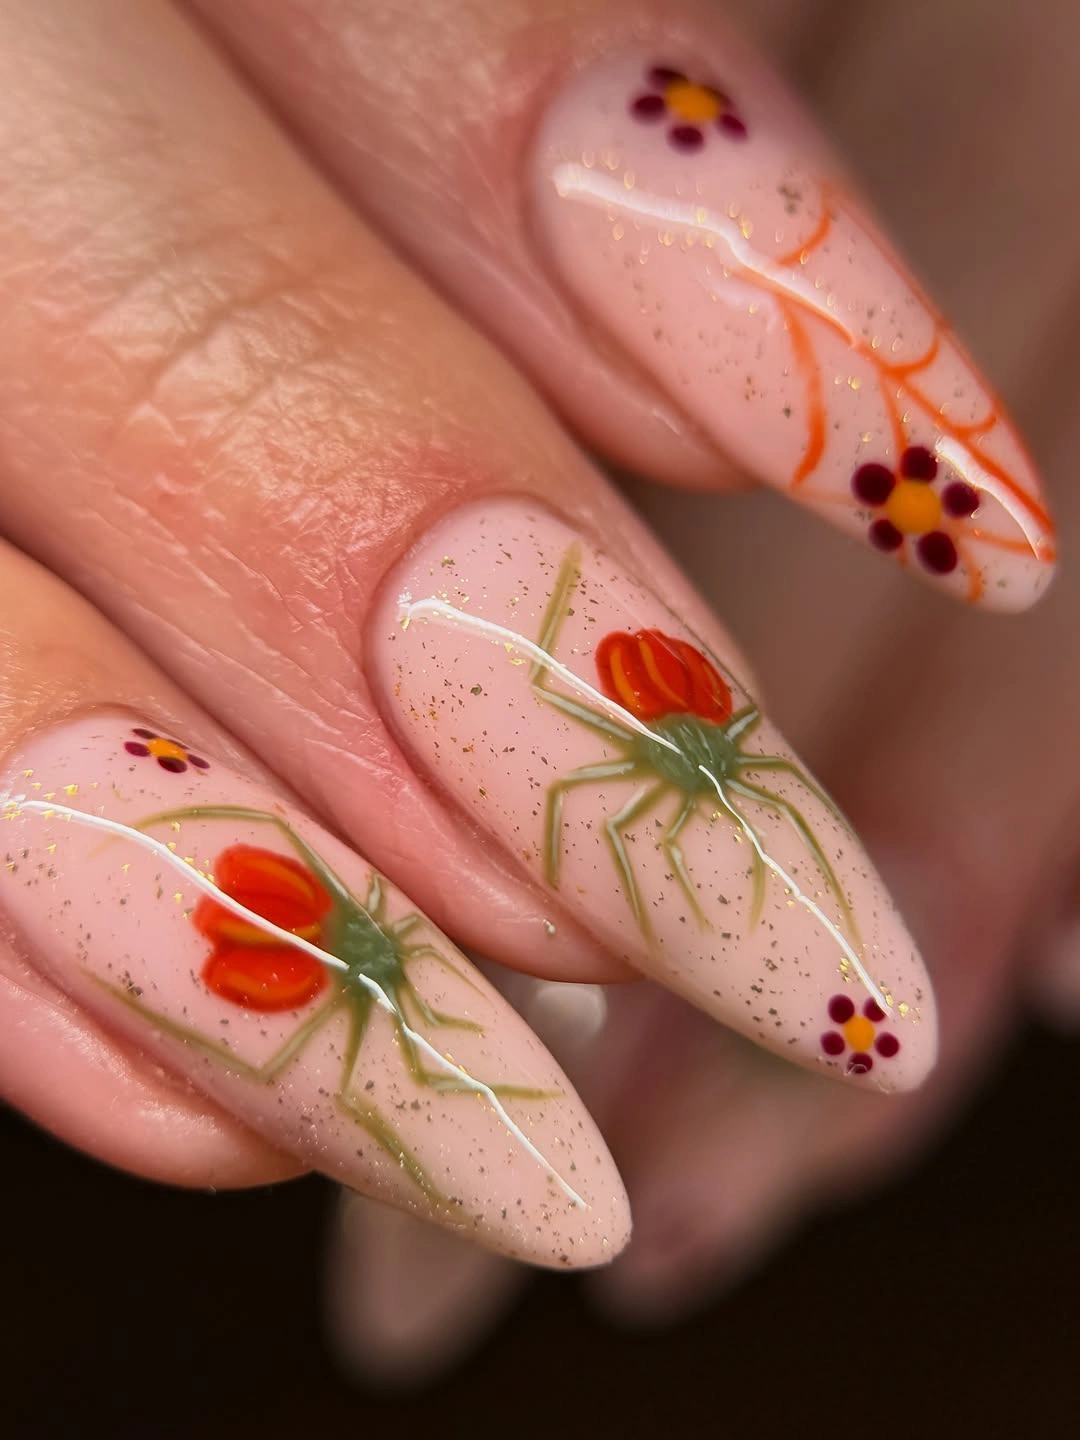
Let the vines move naturally across selected nails while keeping the pumpkins small. A leaf or tiny dot can continue the theme onto another finger without repeating the complete pumpkin illustration.
Fine botanical lines need enough open space to remain visible. On shorter nails, use a single pumpkin with two small leaves instead of trying to reproduce a long vine. The sheer nude base should remain an important part of the composition.
Black Bow Beside Pumpkin and Web Art
A glossy black bow gives this manicure a polished focal point, while a small orange pumpkin and spiderweb provide the Halloween connection. I like this mix because the bow has a structured silhouette that contrasts nicely with the softer curves of the pumpkin and web.
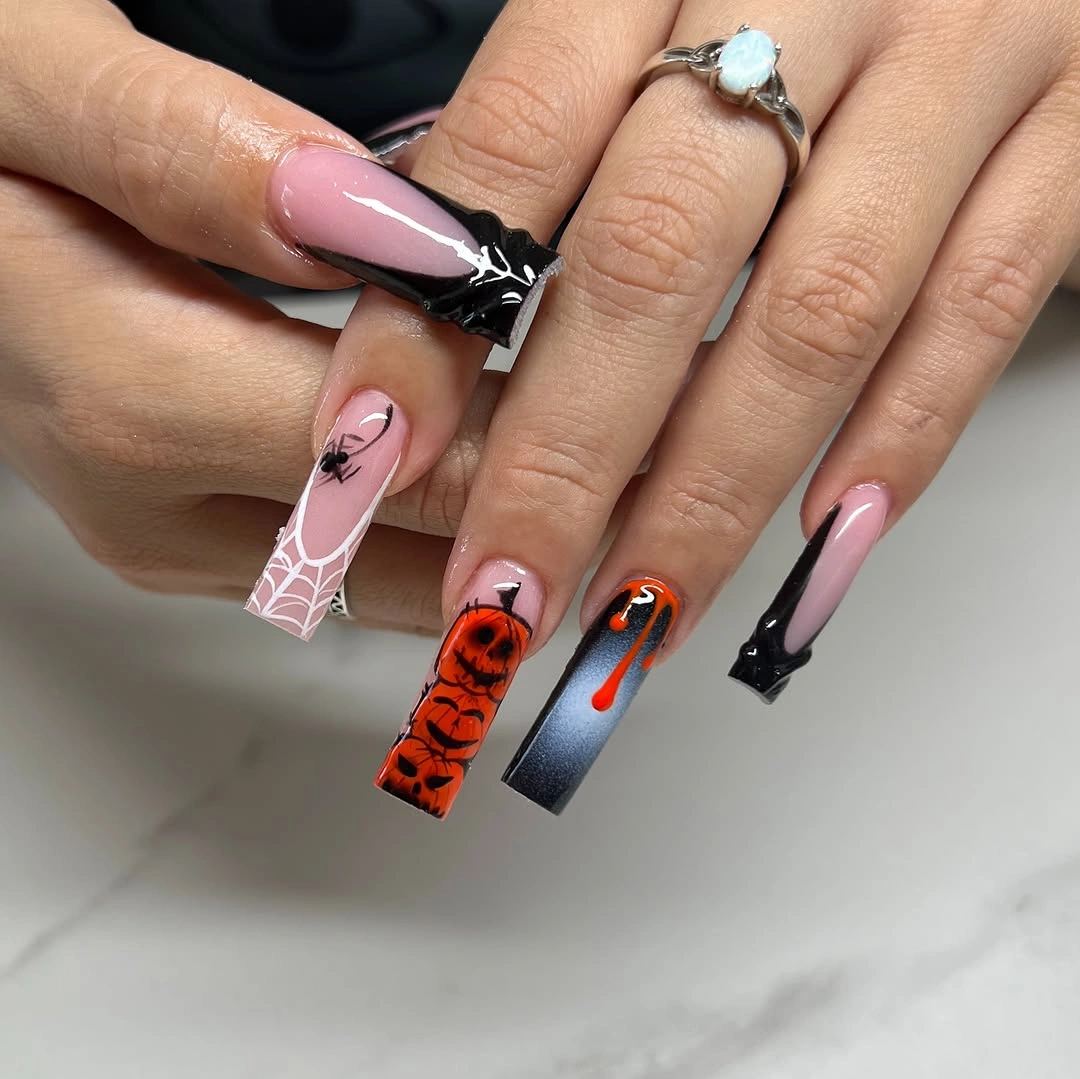
Let the bow occupy one statement nail and use the other motifs as supporting accents. Repeating too much black can make the manicure feel heavy, so leave several nails nude or softly colored.
A medium coffin shape gives bold artwork enough room while remaining practical. For a simpler version, keep the bow and pumpkin and replace the detailed web with one thin black curve.
Pink Negative Space for Maximal Spooky Art
Pink negative space creates a bright foundation for black webs, orange pumpkins, white ghosts, and other Halloween details. I like this approach when someone wants a dramatic manicure without committing to a completely dark set.
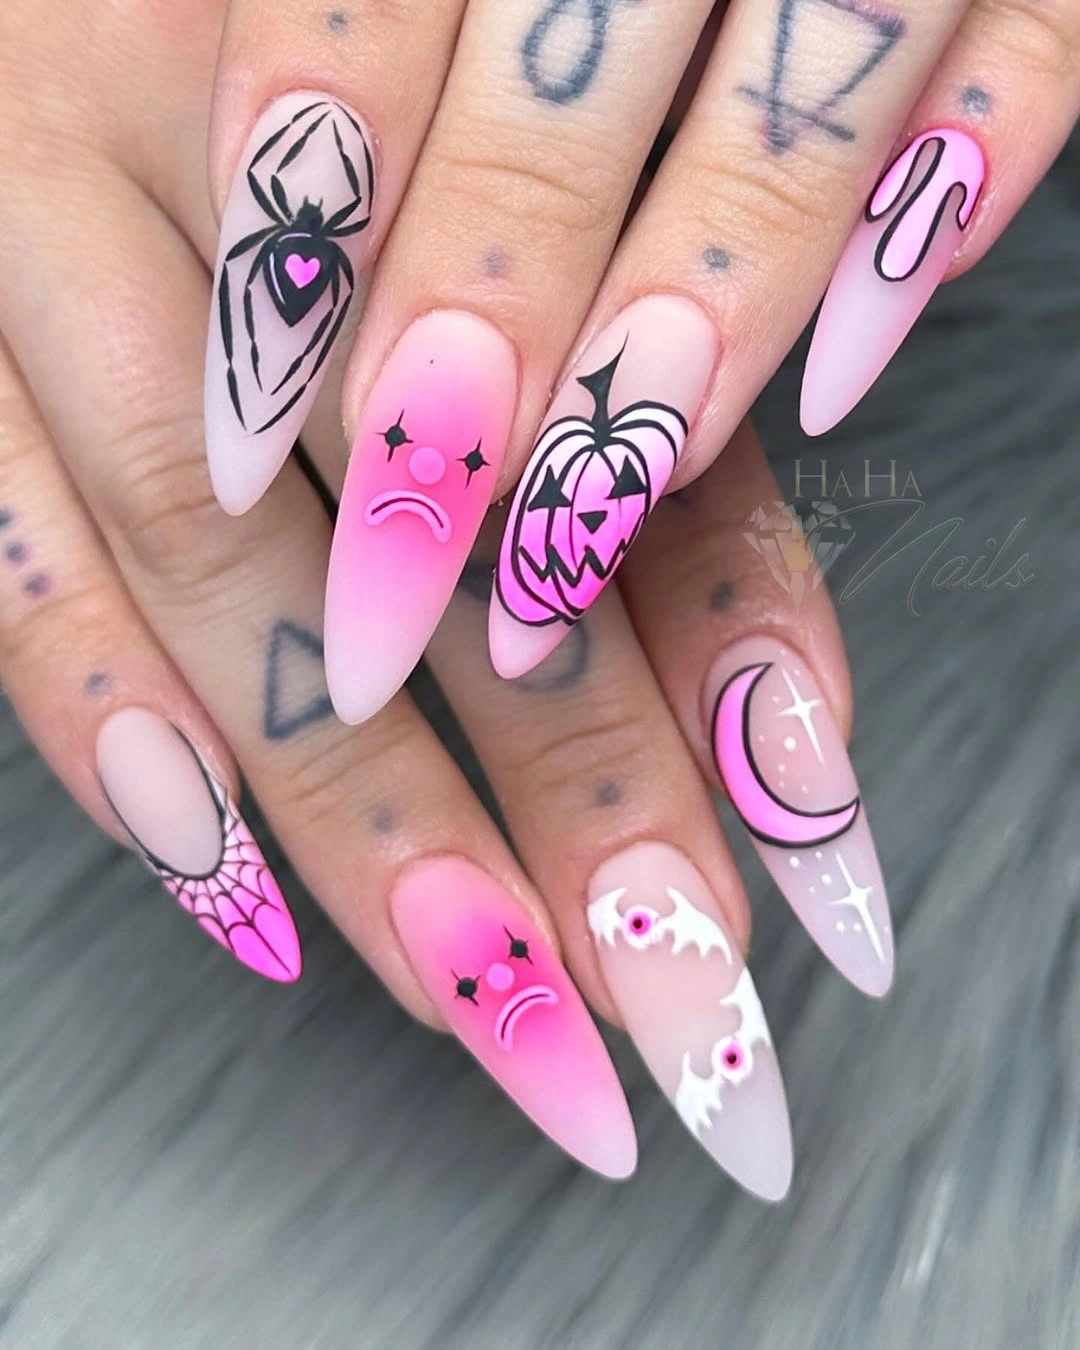
Rotate the larger motifs so every nail does not carry the same visual weight. A complete pumpkin can sit beside a simple web, while another nail can feature only a ghost or a few black lines. The pink background should remain visible between the elements.
Long pointed nails make this design especially dramatic, although a medium almond version is easier for everyday wear. Keep the strongest motifs on selected nails and use negative space as the connecting element.
Candy-Corn Points With Bold Pumpkin Details
Candy-corn-inspired sections bring yellow, white, orange, and black together for a bright Halloween manicure. I like concentrating the strongest color blocking on only a few nails so the design remains energetic without becoming visually overwhelming.
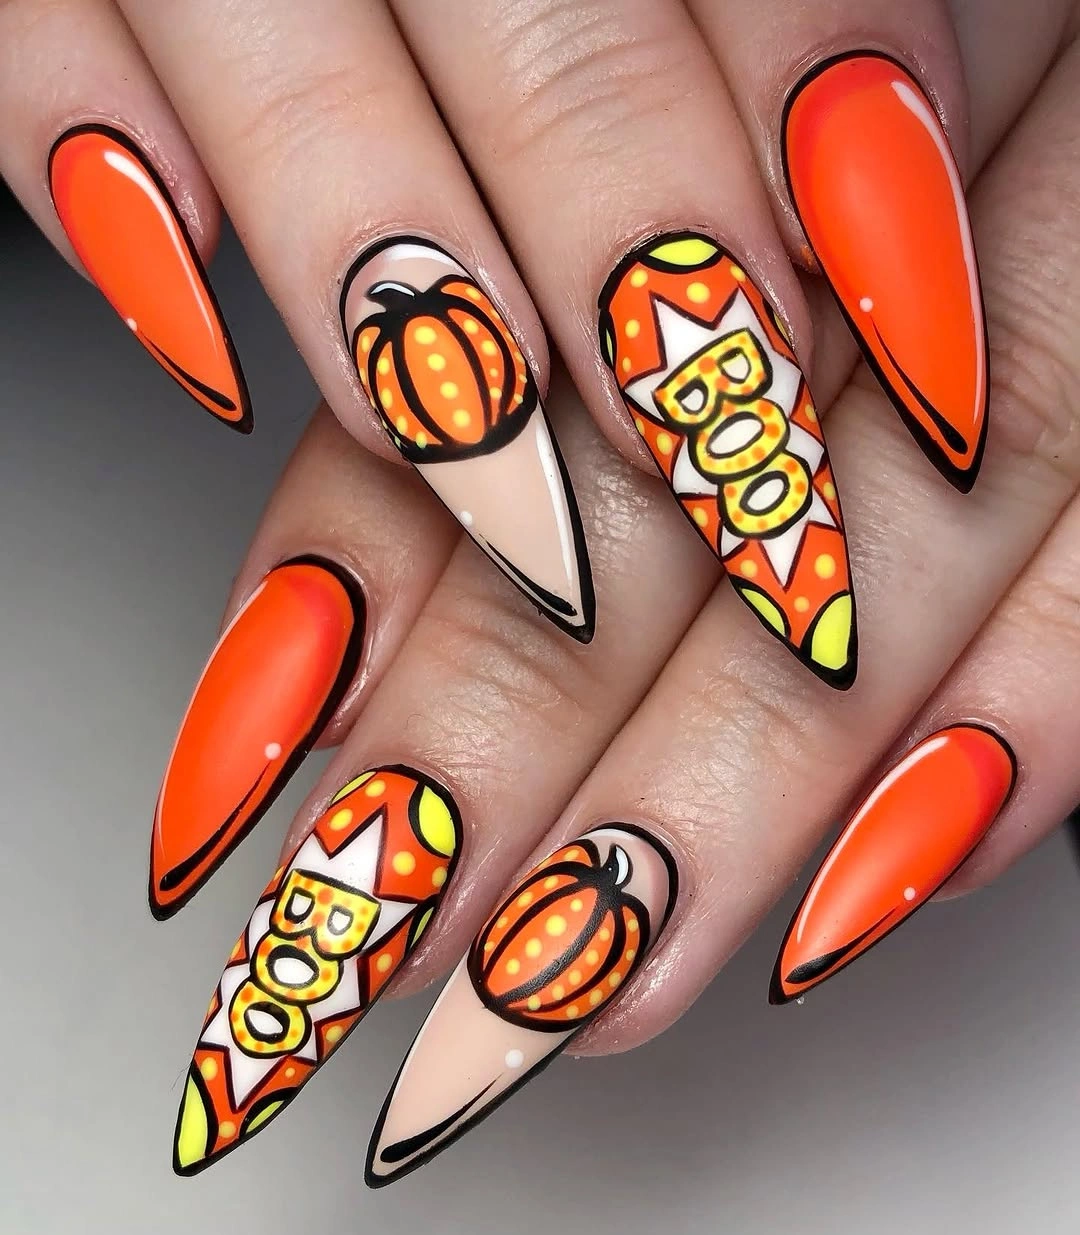
A large pumpkin can become the focal point on one nail while another carries the candy-corn pattern. Black lettering or graphic lines should remain limited to one statement nail so the bold colors still have room to breathe.
Long pointed nails make the orange tips particularly striking, but the idea can be adapted to medium almond nails. Use one candy-corn section and one small pumpkin instead of reproducing every detail if you prefer a more wearable manicure.
Scrapbook-Style Pink Miniatures and Red Speckles
Soft pink nails provide a gentle background for tiny Halloween illustrations, red speckles, and miniature pumpkin details. I like this scrapbook-inspired approach because the small decorations feel collected and personal rather than perfectly uniform.
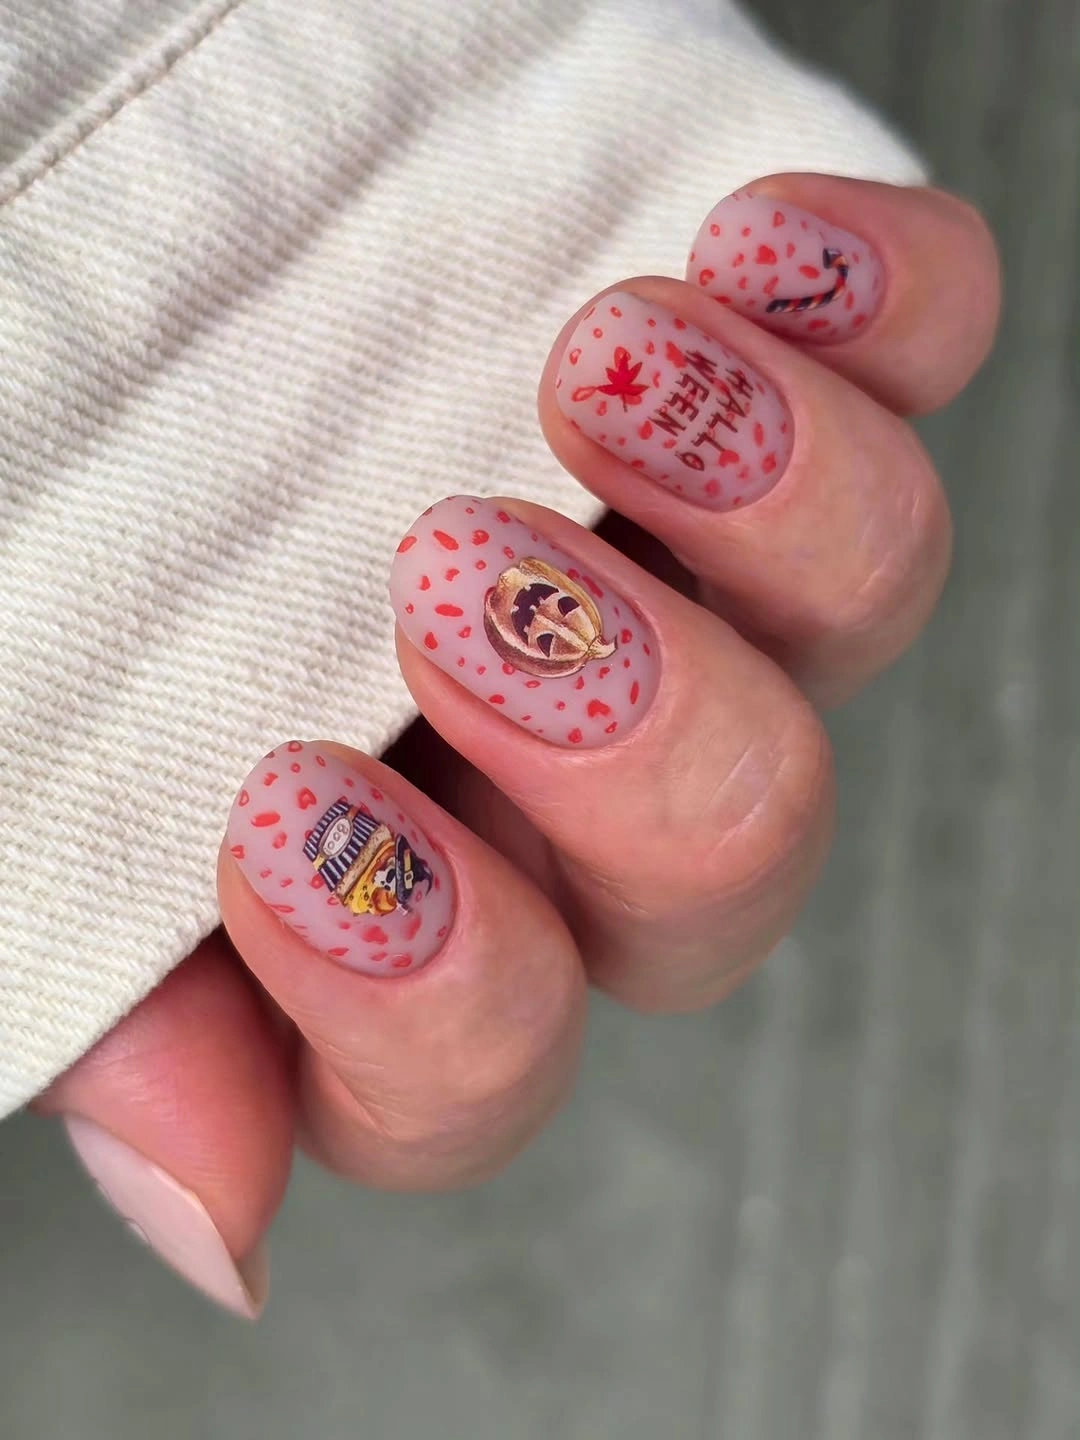
Give each nail one primary detail and allow the pink background to remain dominant. A framed miniature on one finger can be balanced by simple red dots on another, creating variation without filling every surface.
Short rounded nails are ideal for this concept because the compact artwork feels intentional at that scale. Keep the speckles away from the main illustration so the tiny outline remains clear. One accent pumpkin is often enough to establish the seasonal theme.
Pearly French Edges With Airy Spider Art
A pearly nude French edge gives Halloween spider and web artwork a delicate setting. I like the combination because the glossy pale finish keeps the manicure elegant while the thin black lines introduce just enough spooky detail.
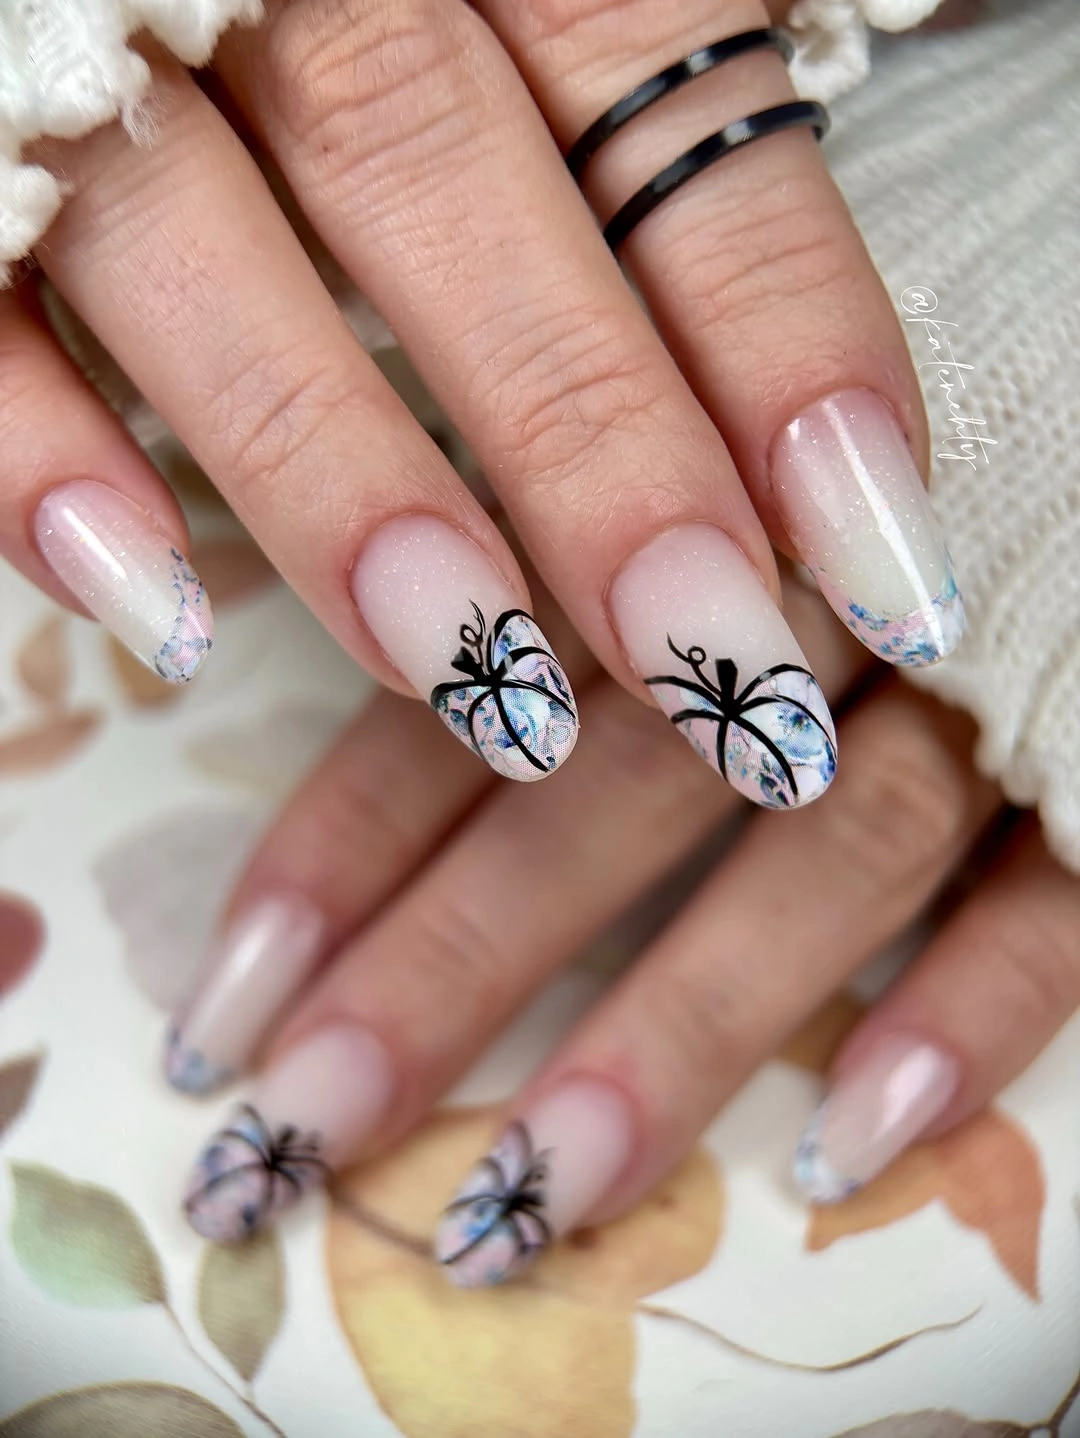
Keep the webs light and place them toward the corner or edge of selected nails. One small spider and perhaps a tiny ghost can provide enough contrast without covering the pearly background.
Medium almond nails offer a good balance between space and practicality. On shorter nails, simplify the artwork to a single spider and small web corner. The pale French edge should remain visible because it is what gives the manicure its airy character.